How to Convert Liberty (.dcr) Files for Use in ArcaScribe (Windows)
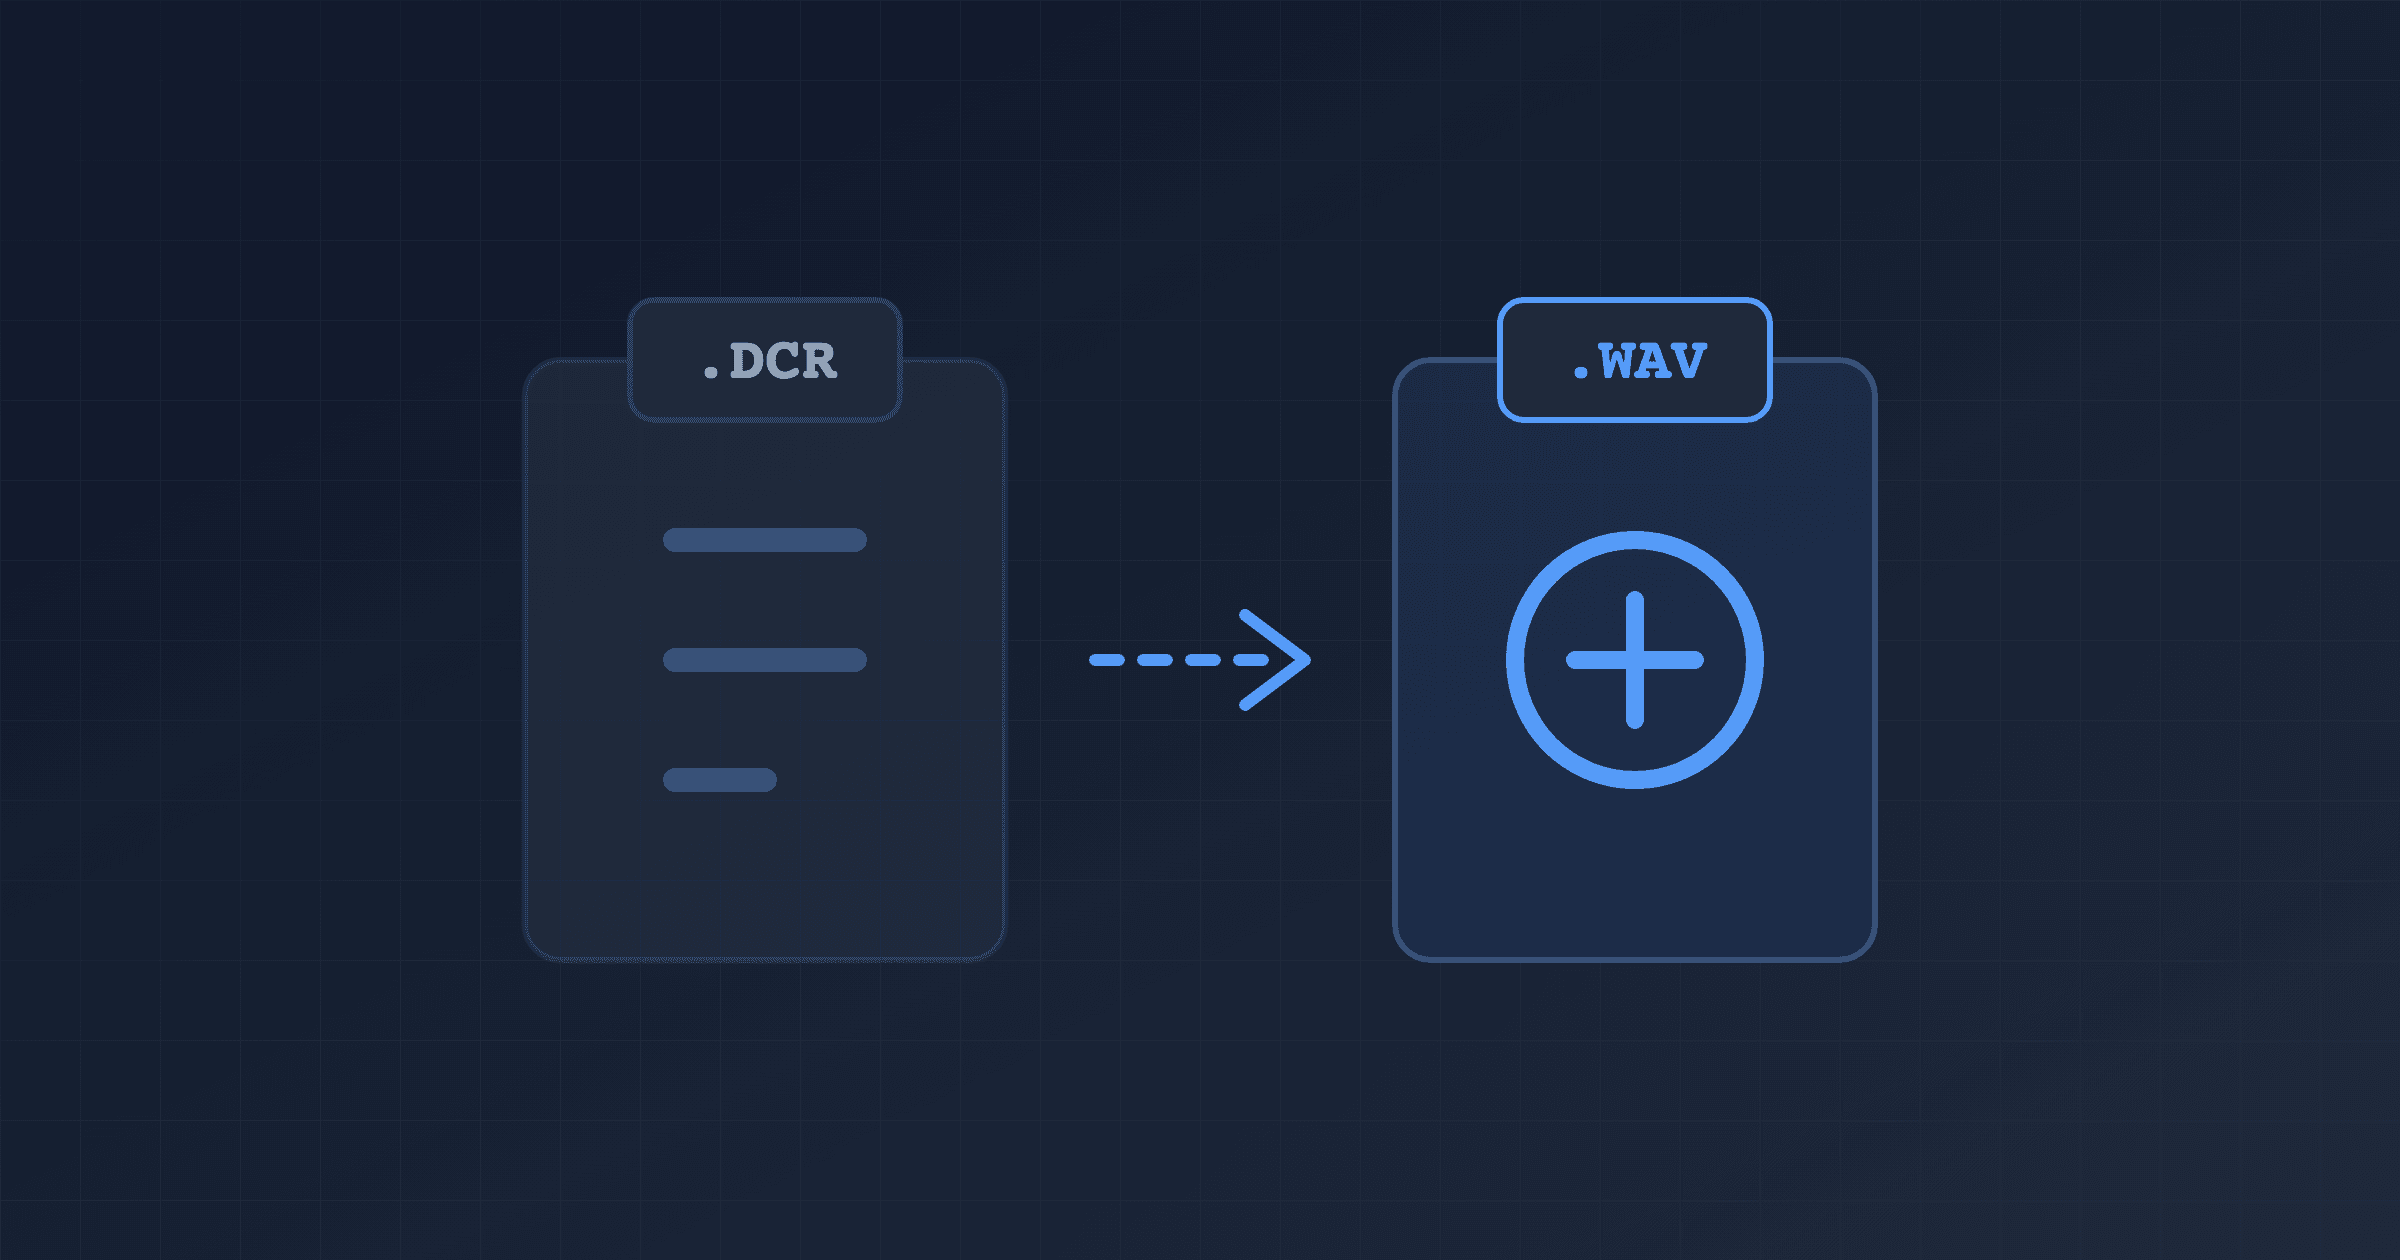
Liberty audio files (.dcr) use a proprietary format that most applications cannot open directly. To transcribe them in ArcaScribe, you first need to export them as a standard WAV file using Liberty Player — a free program available for Windows. This guide walks you through the entire process, step by step.
What You'll Need
- Liberty Player for Windows. Note that the Mac version does not support exporting files — download here
- ArcaScribe installed on your computer — download here
- A Liberty audio file you want to transcribe
Part 1: Export from Liberty Player
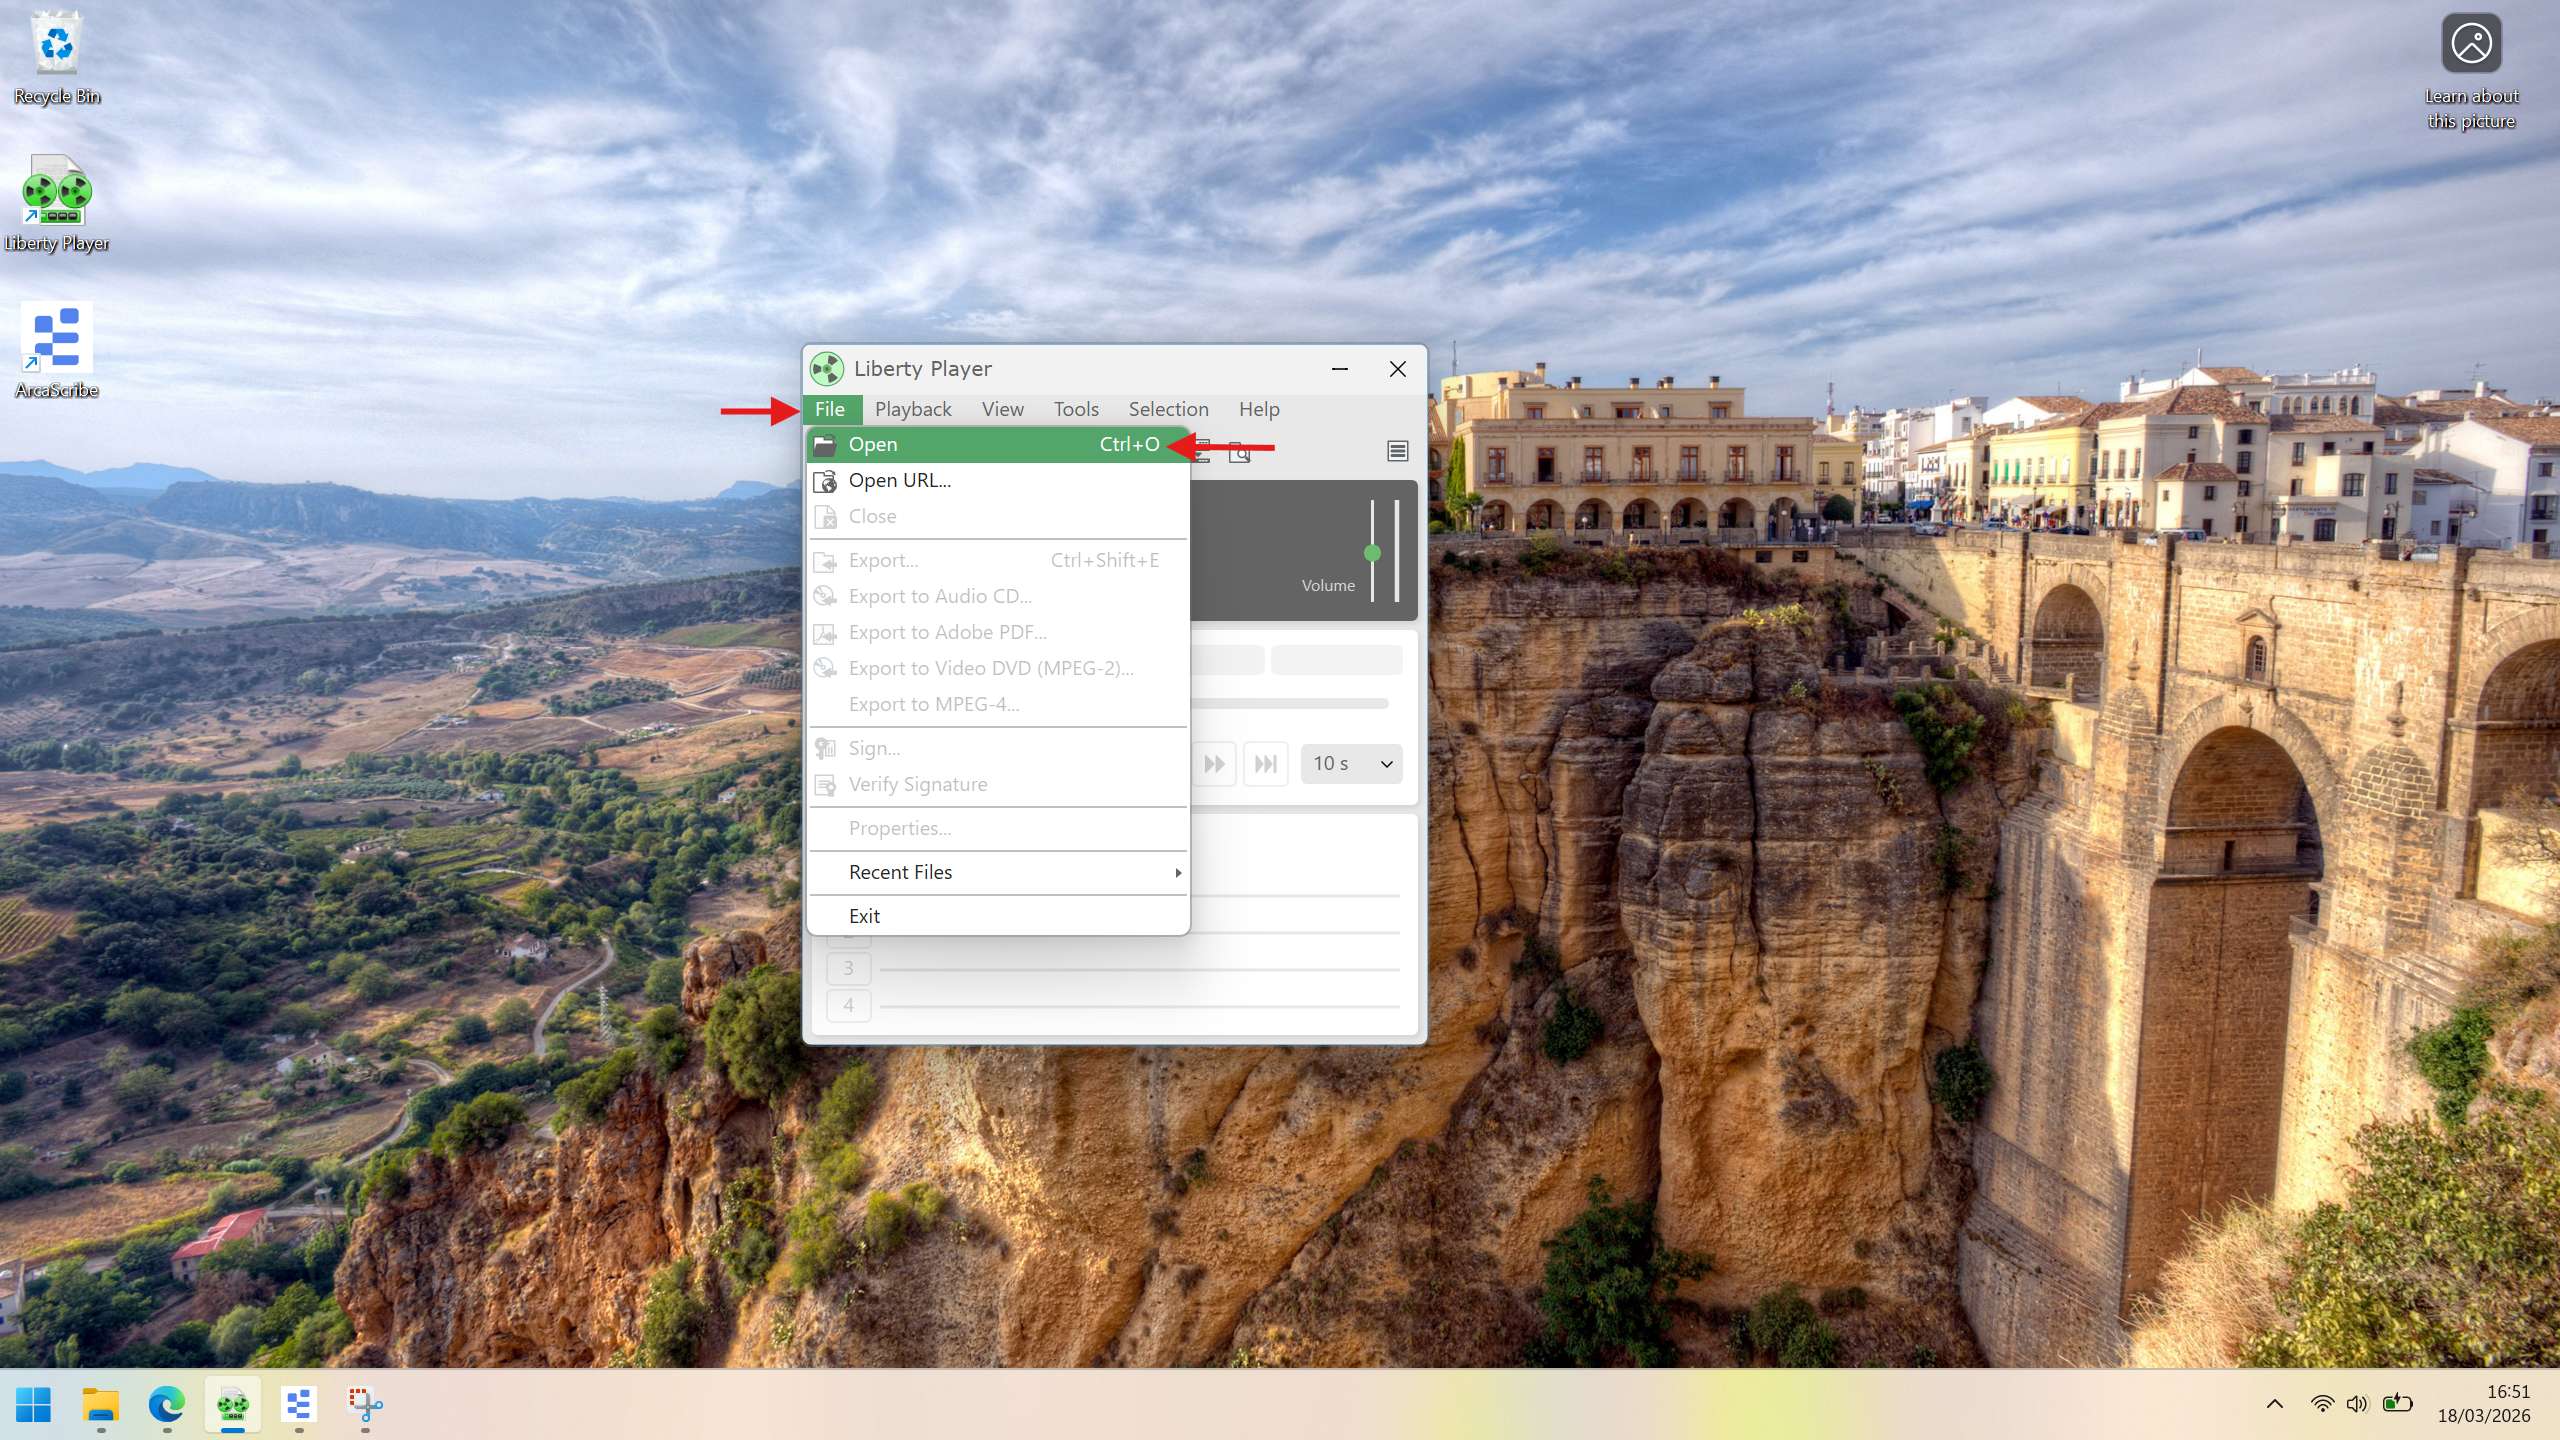
Open your file in Liberty Player
Launch Liberty Player on your Windows computer. Click on File in the top menu bar, then select Open. You can also use the keyboard shortcut Ctrl+O.
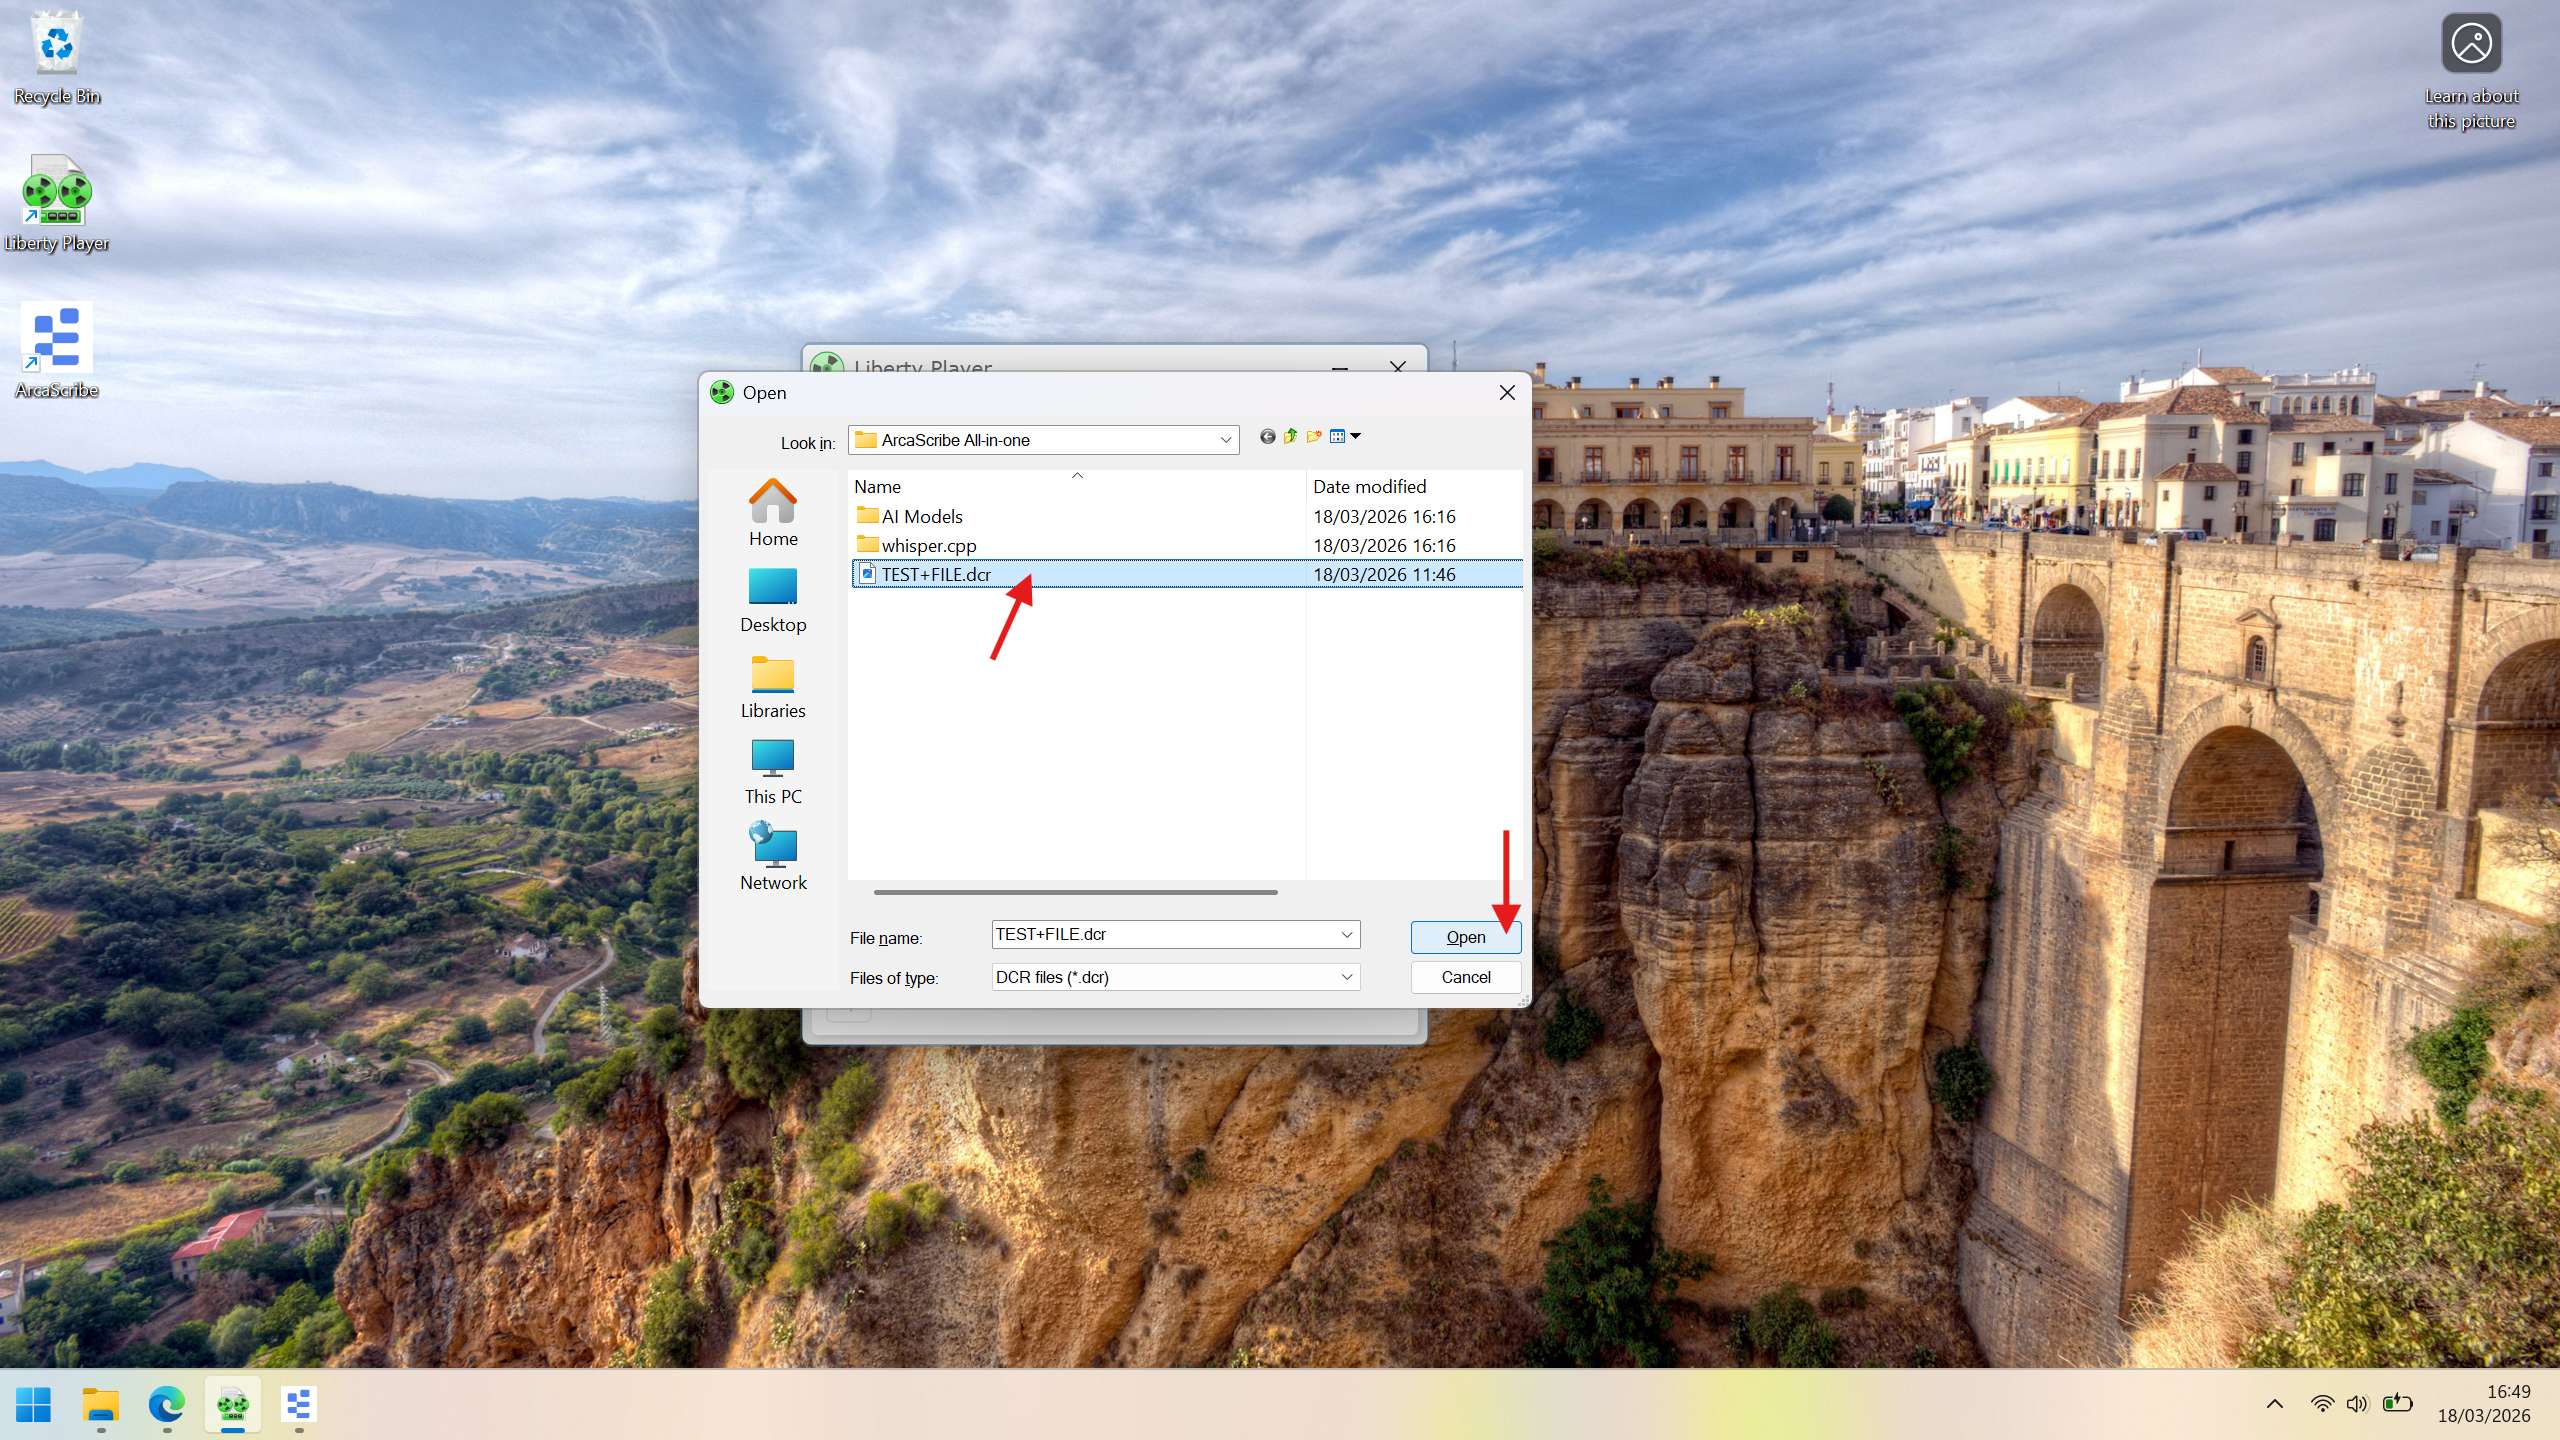
Select your Liberty file
In the file explorer window that appears, navigate to the folder where your Liberty file is saved. Click on the file to select it, then click Open.
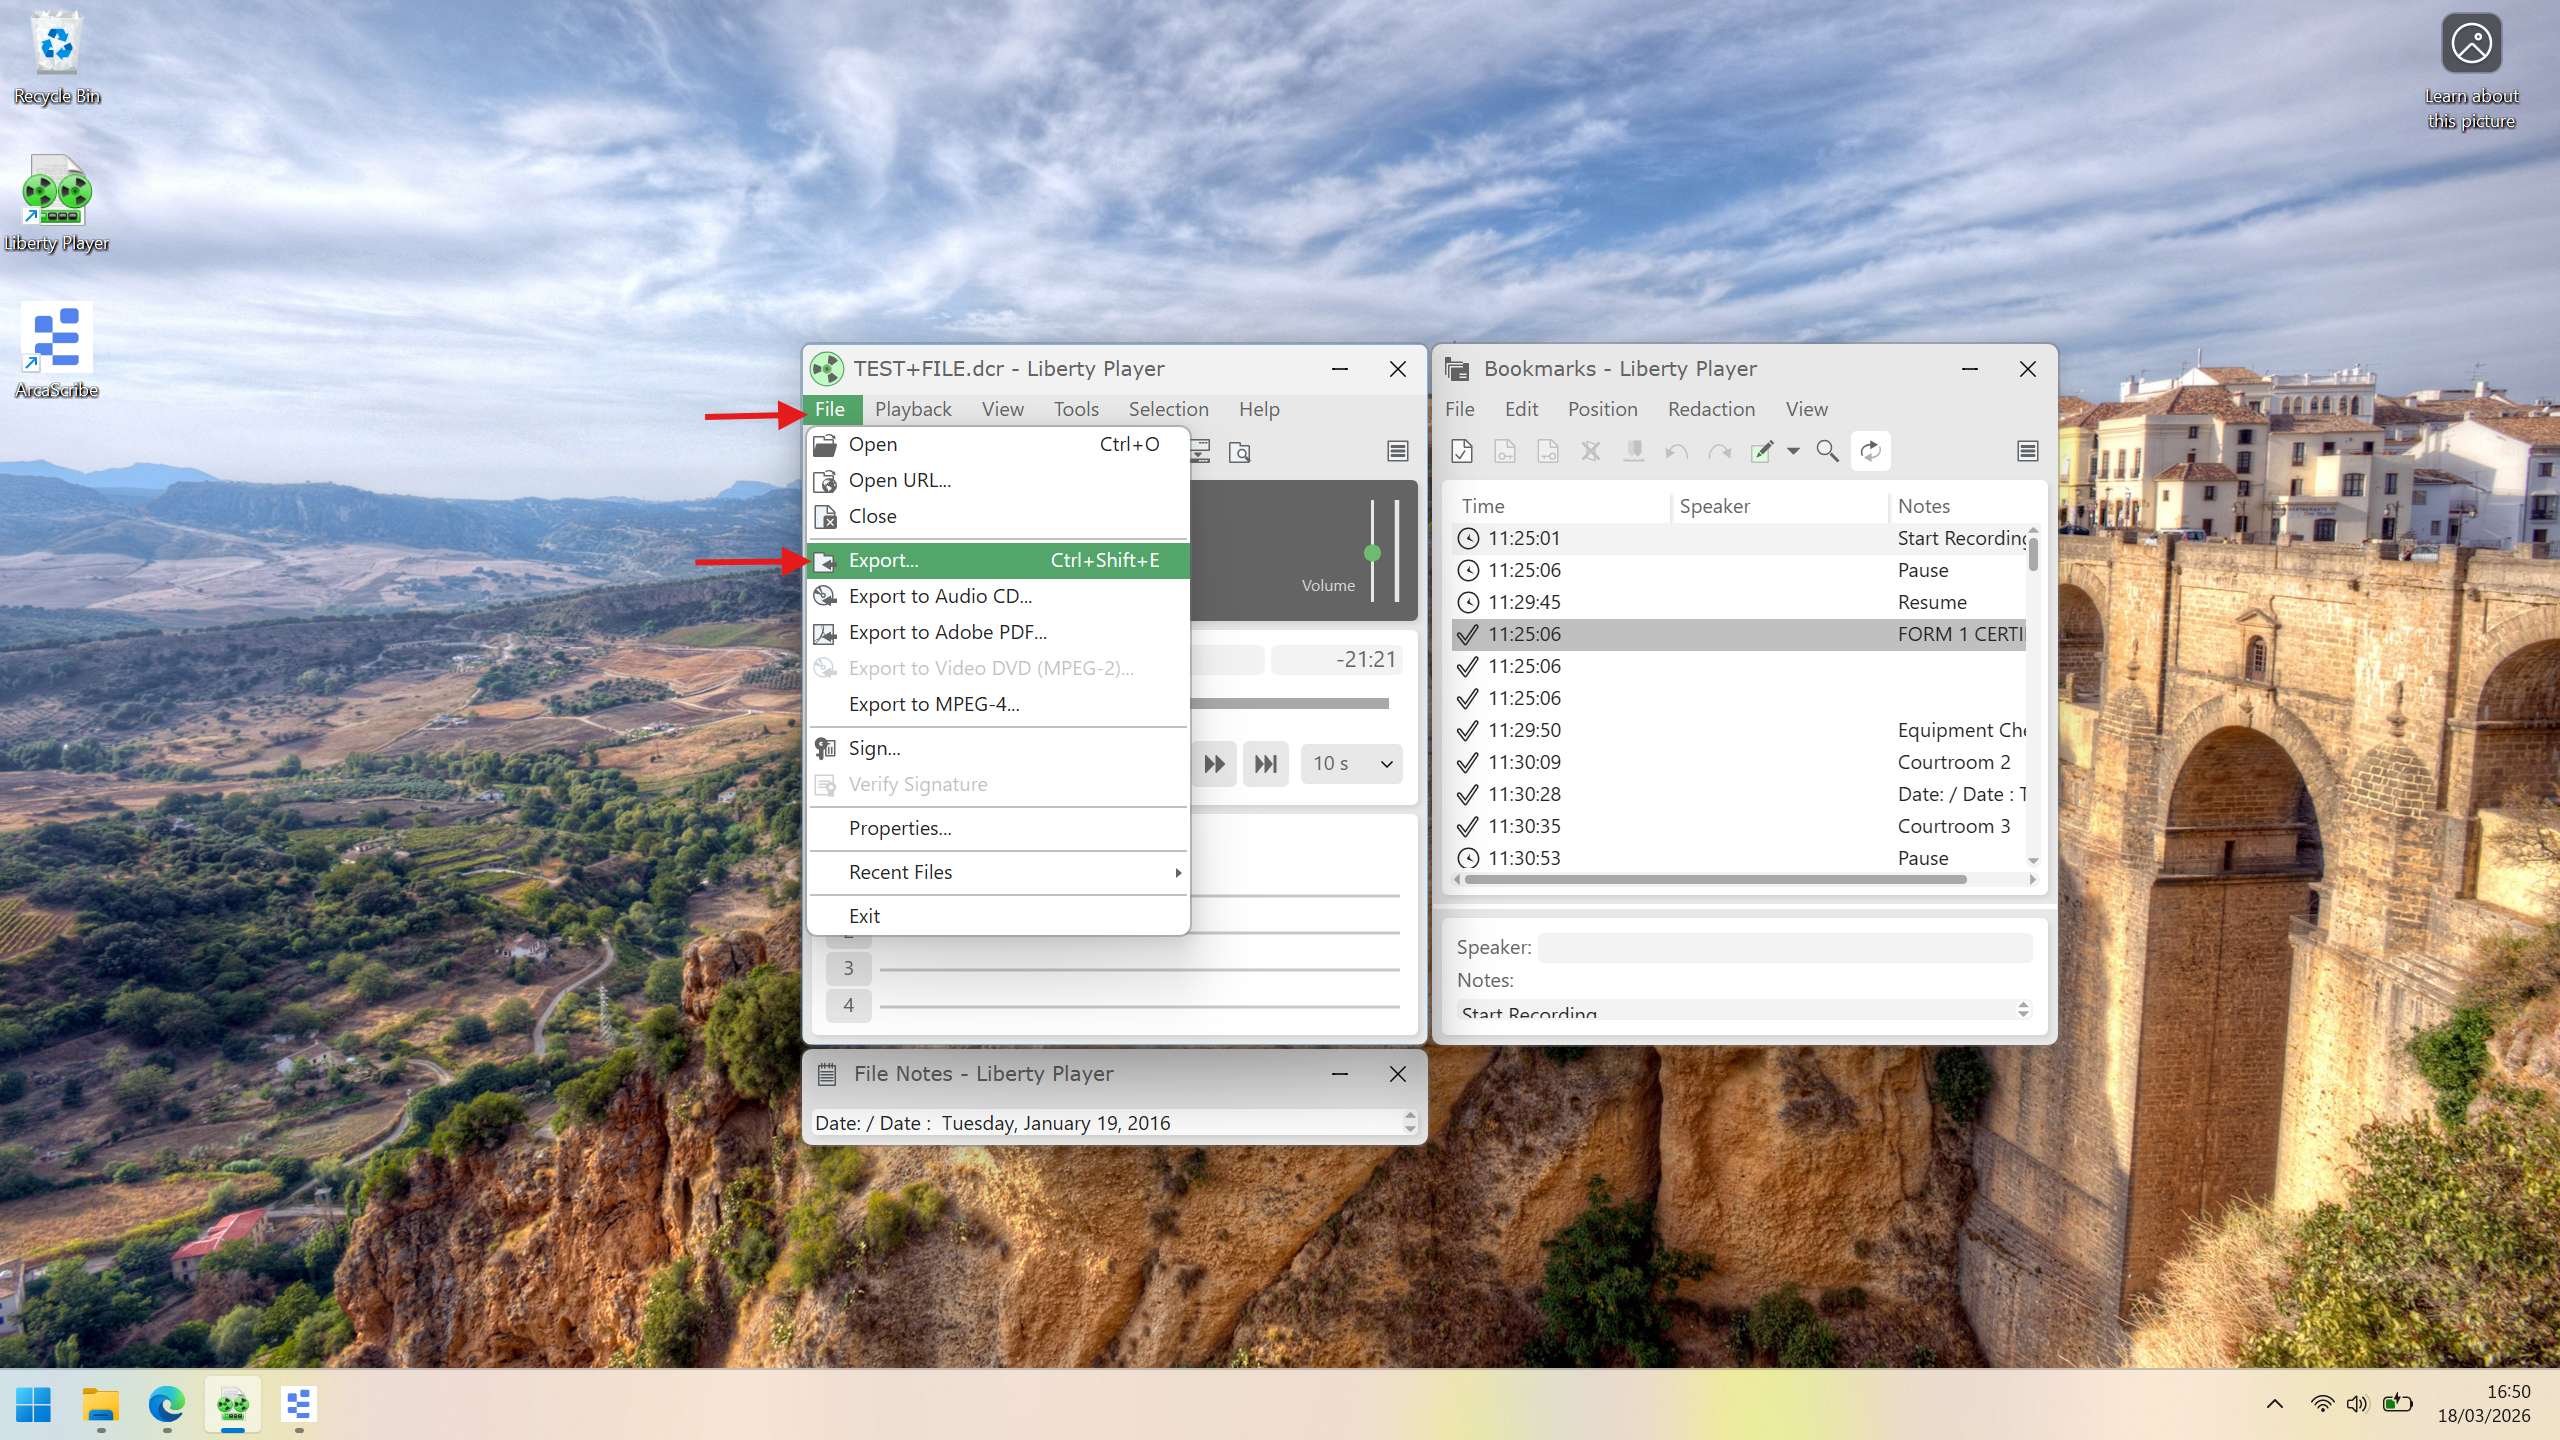
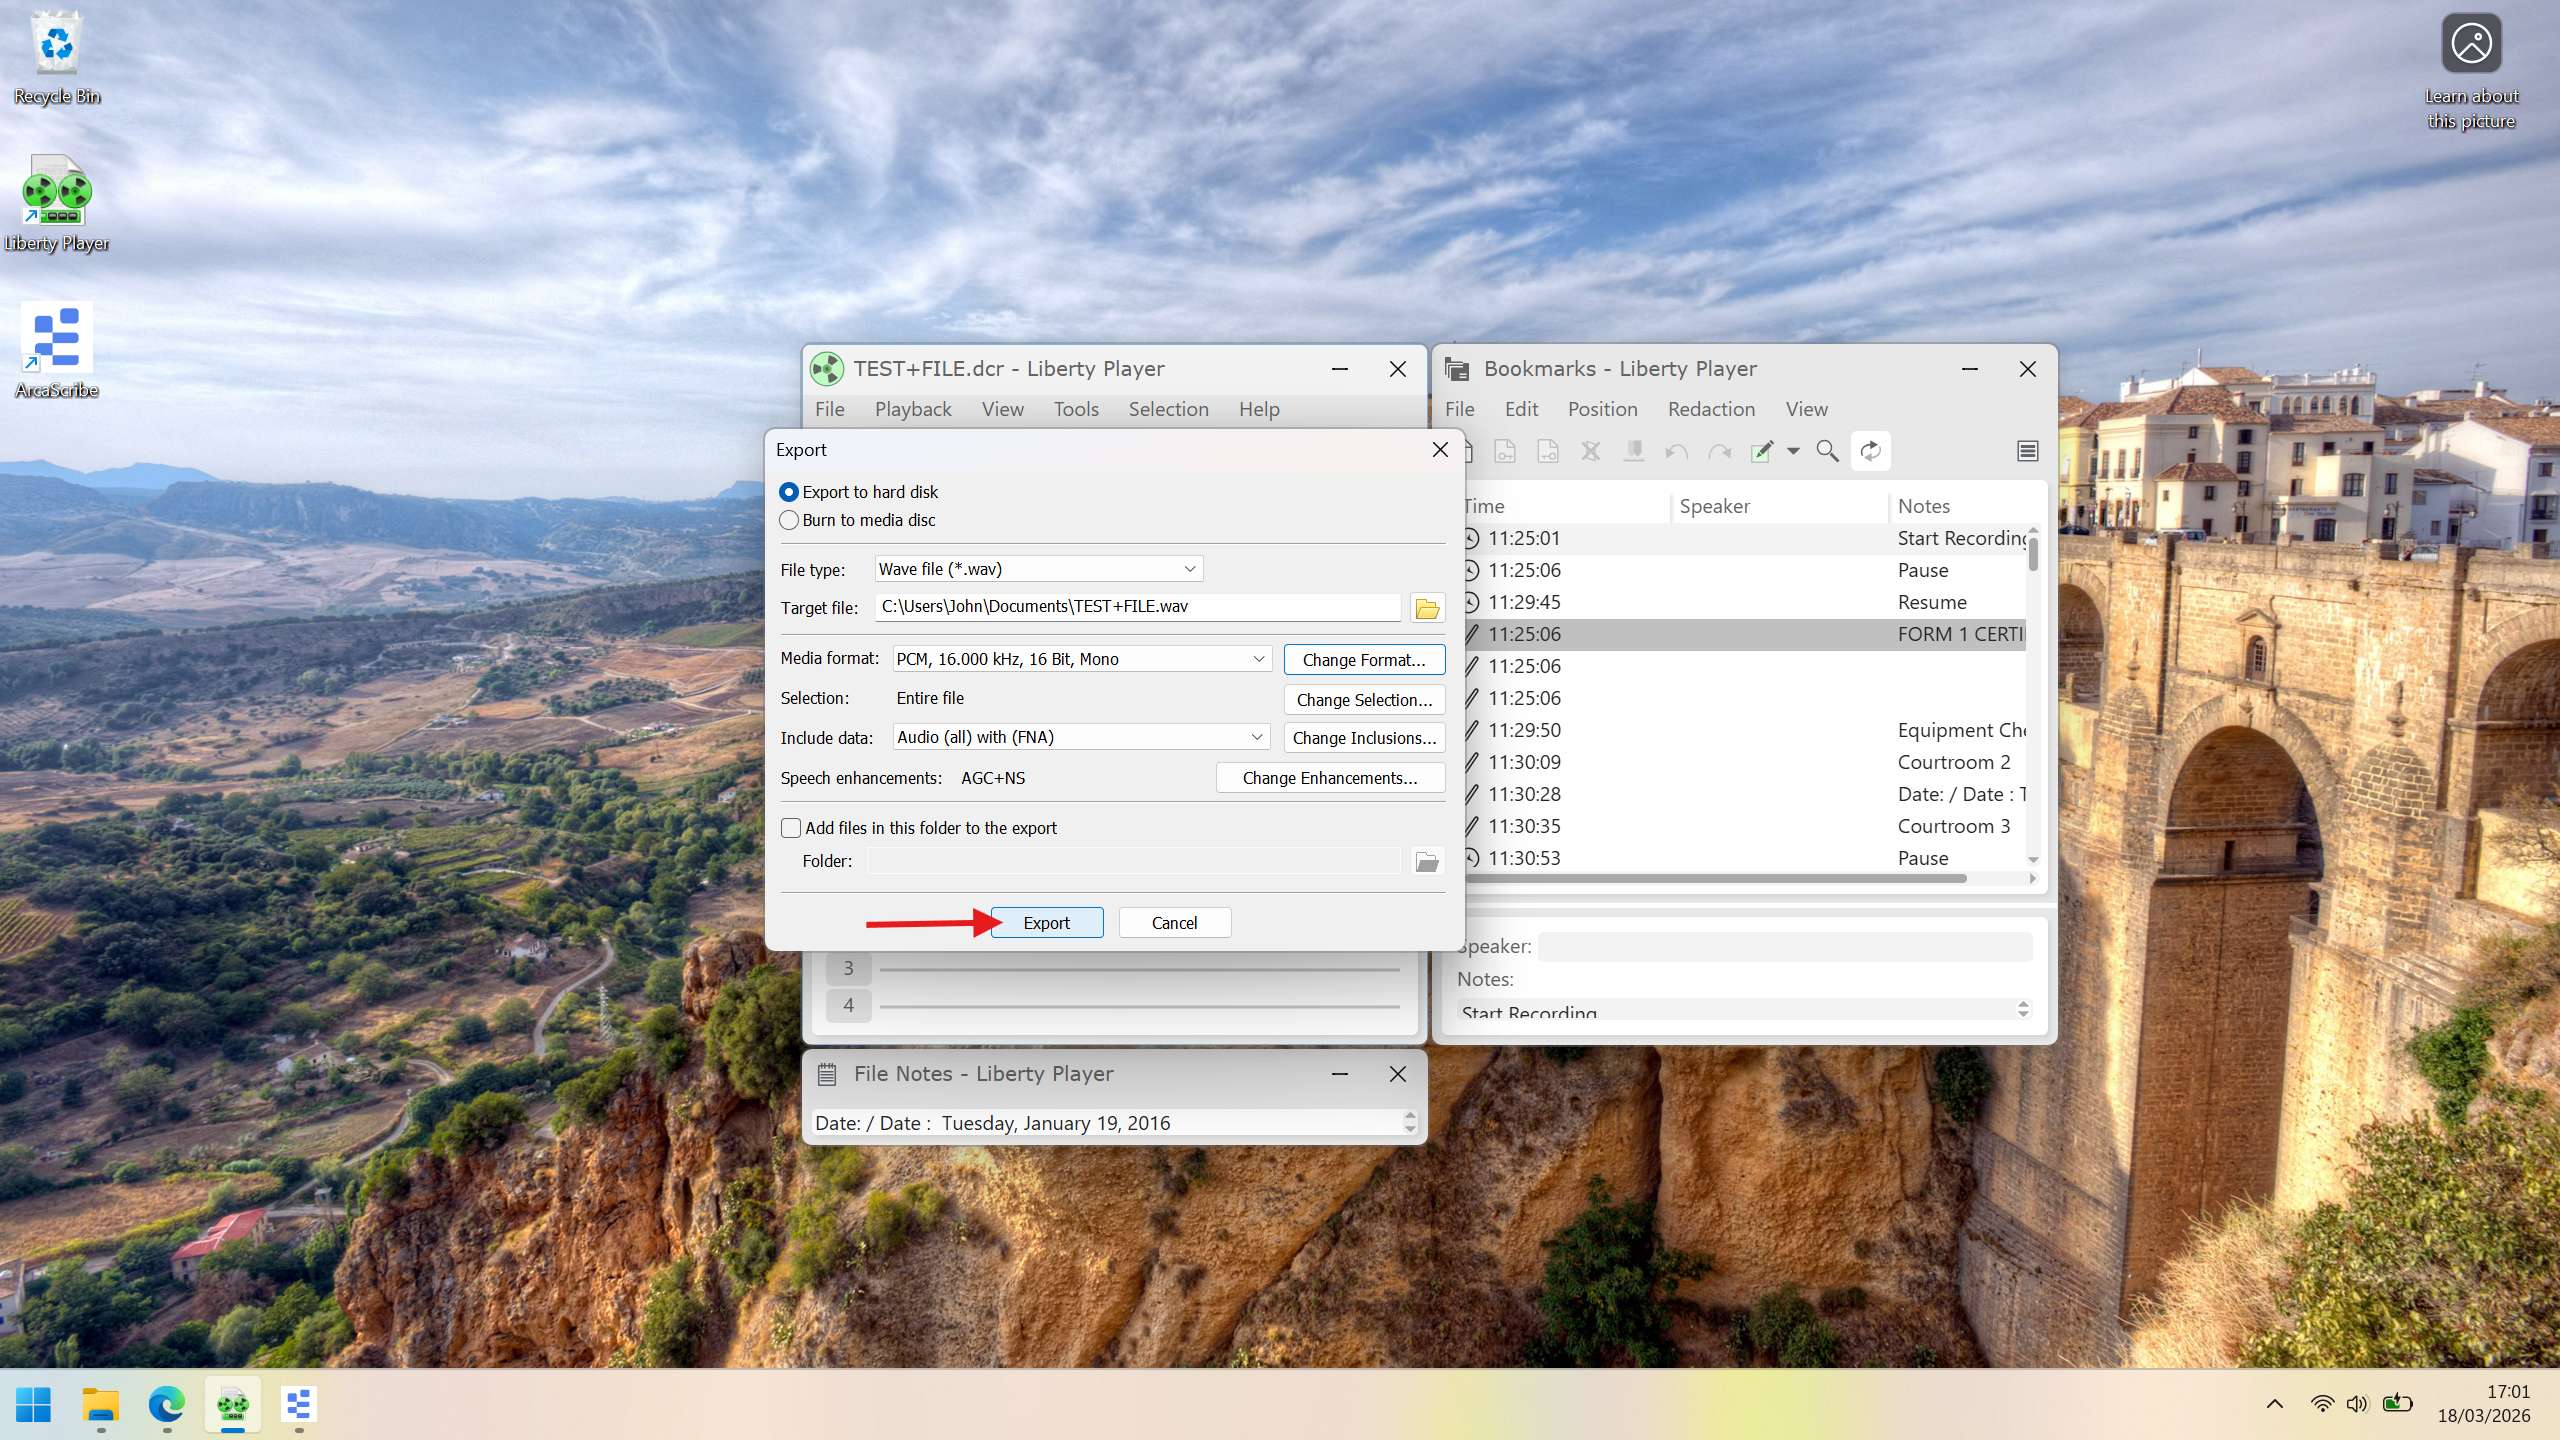
Open the Export dialog
With your file now loaded in Liberty Player, click on File in the menu bar again and select Export. You can also use the keyboard shortcut Ctrl+Shift+E.
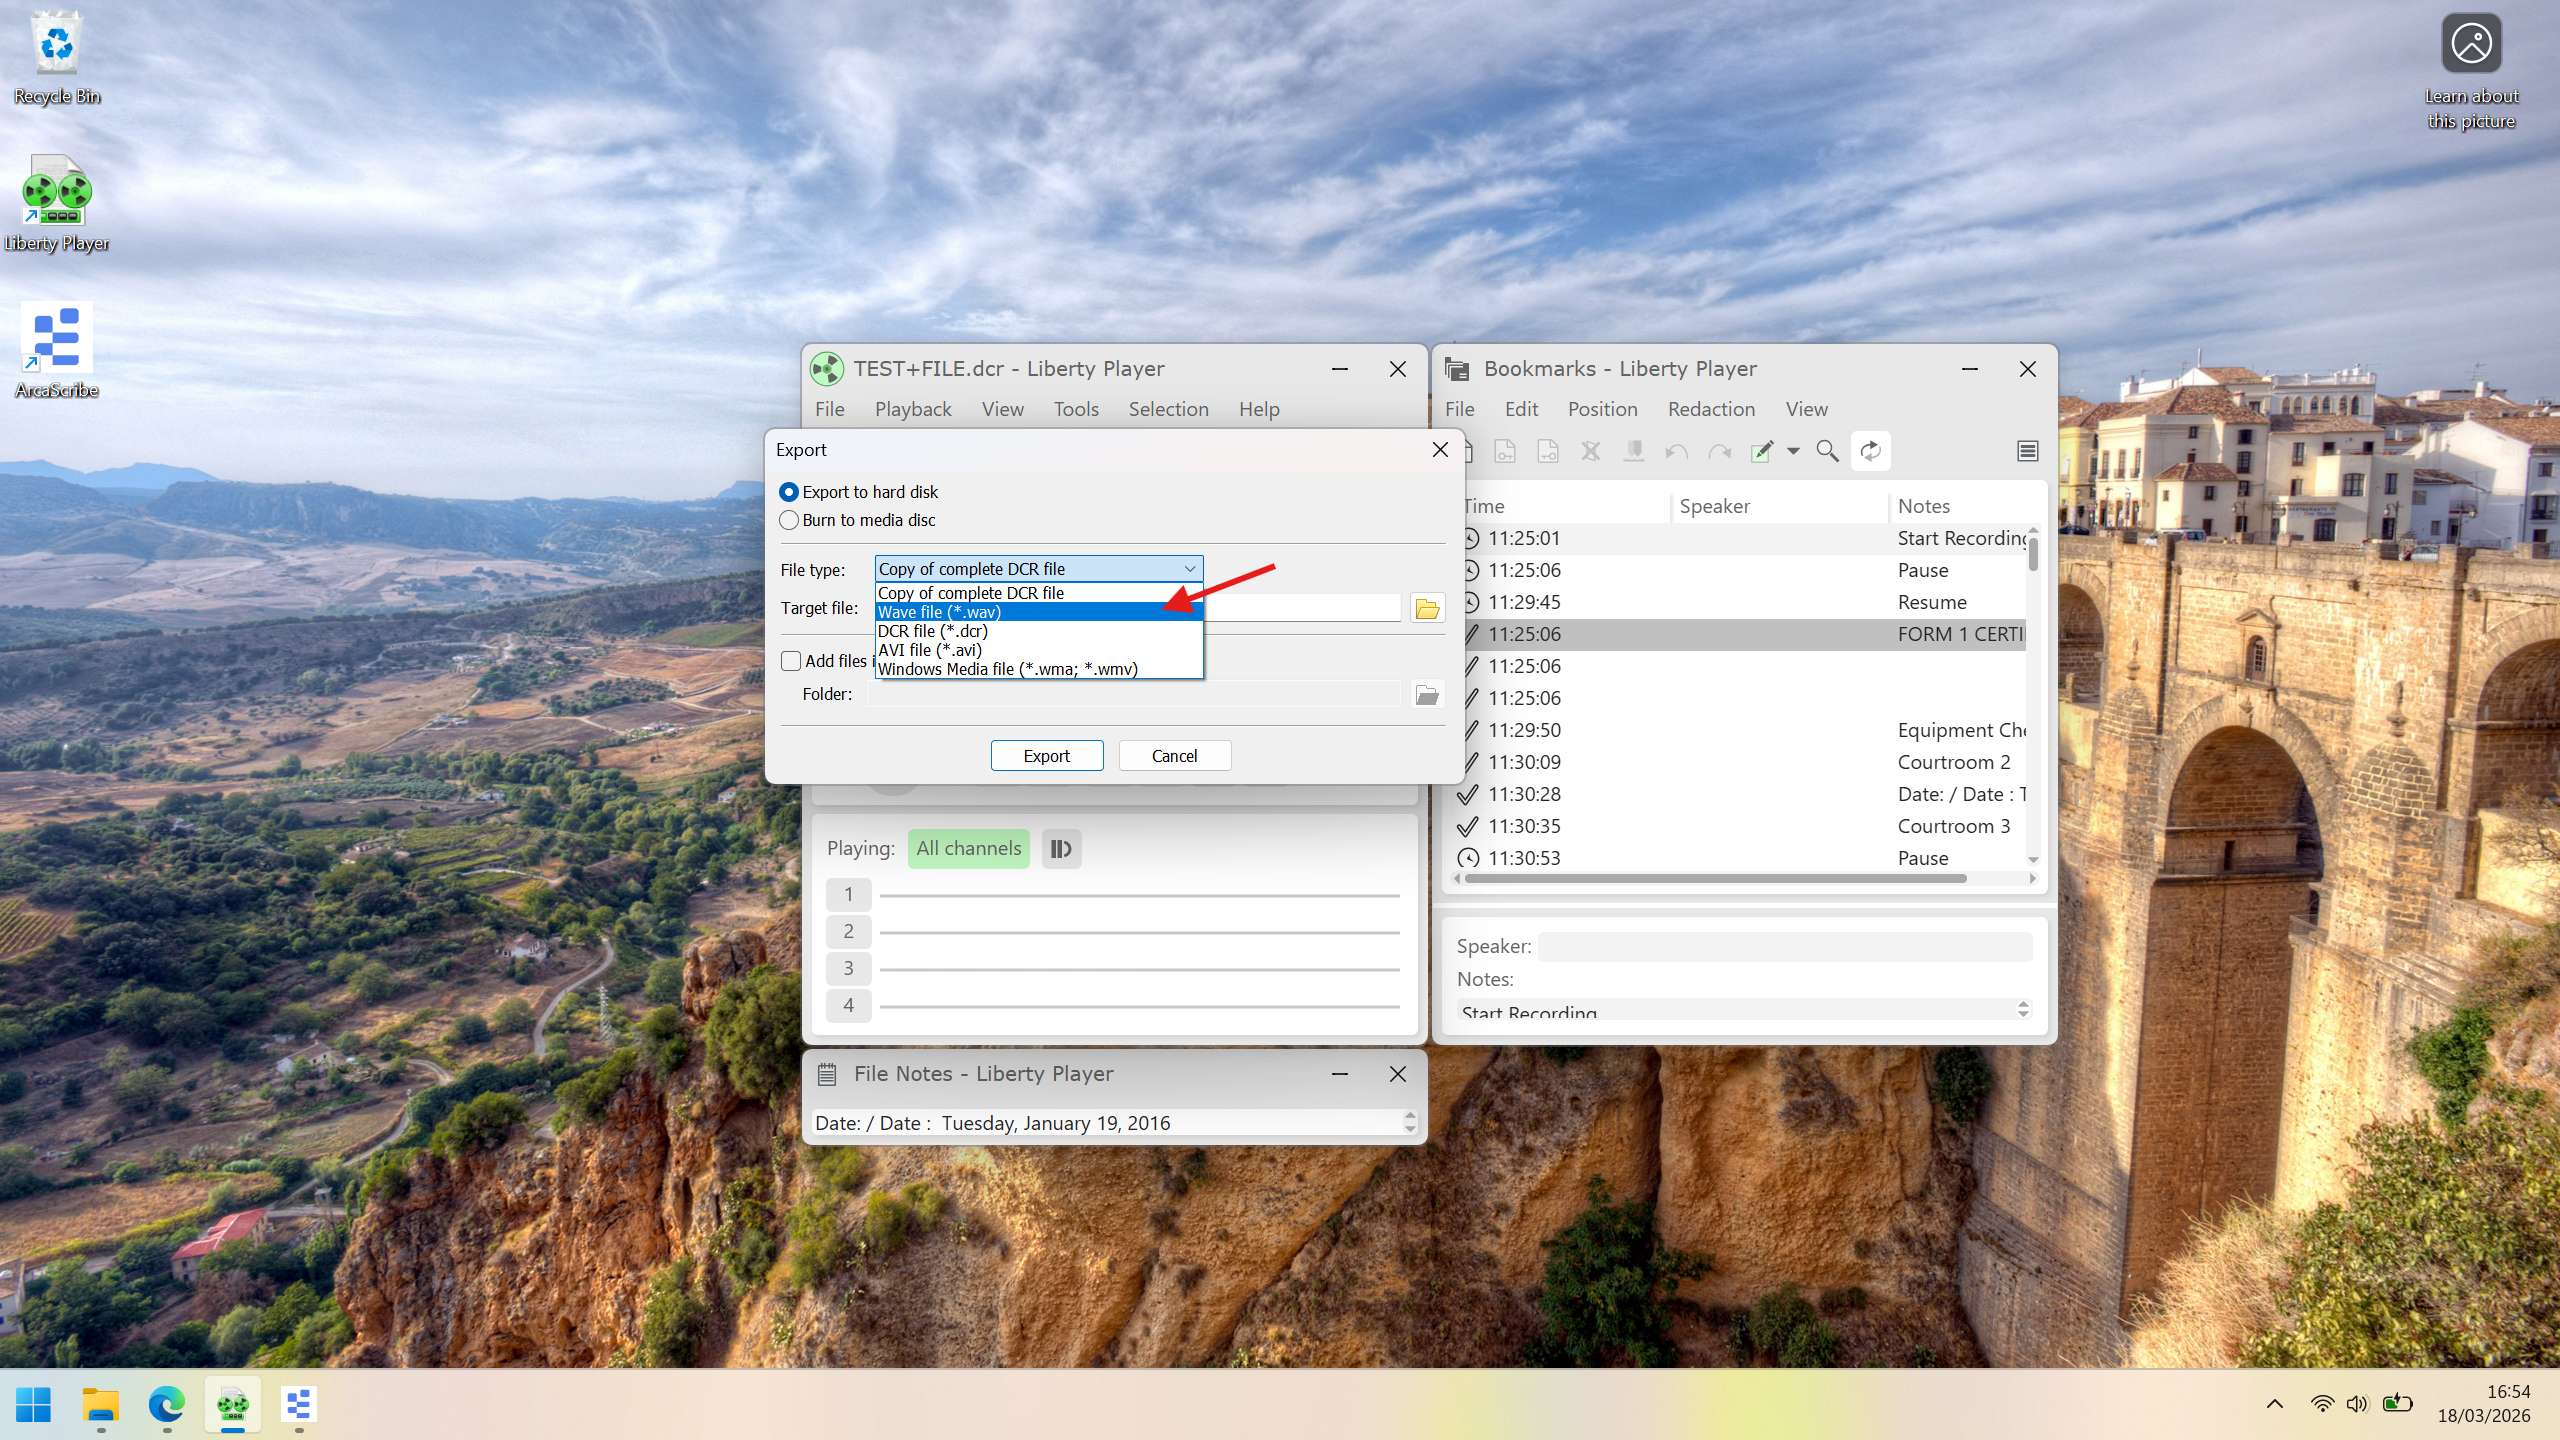
Set the file type to WAV
In the Export window that appears, find the File type dropdown and change it to Wave file (*.wav).
Open format settings
The Export window will now show additional options. Click the Change Format... button.

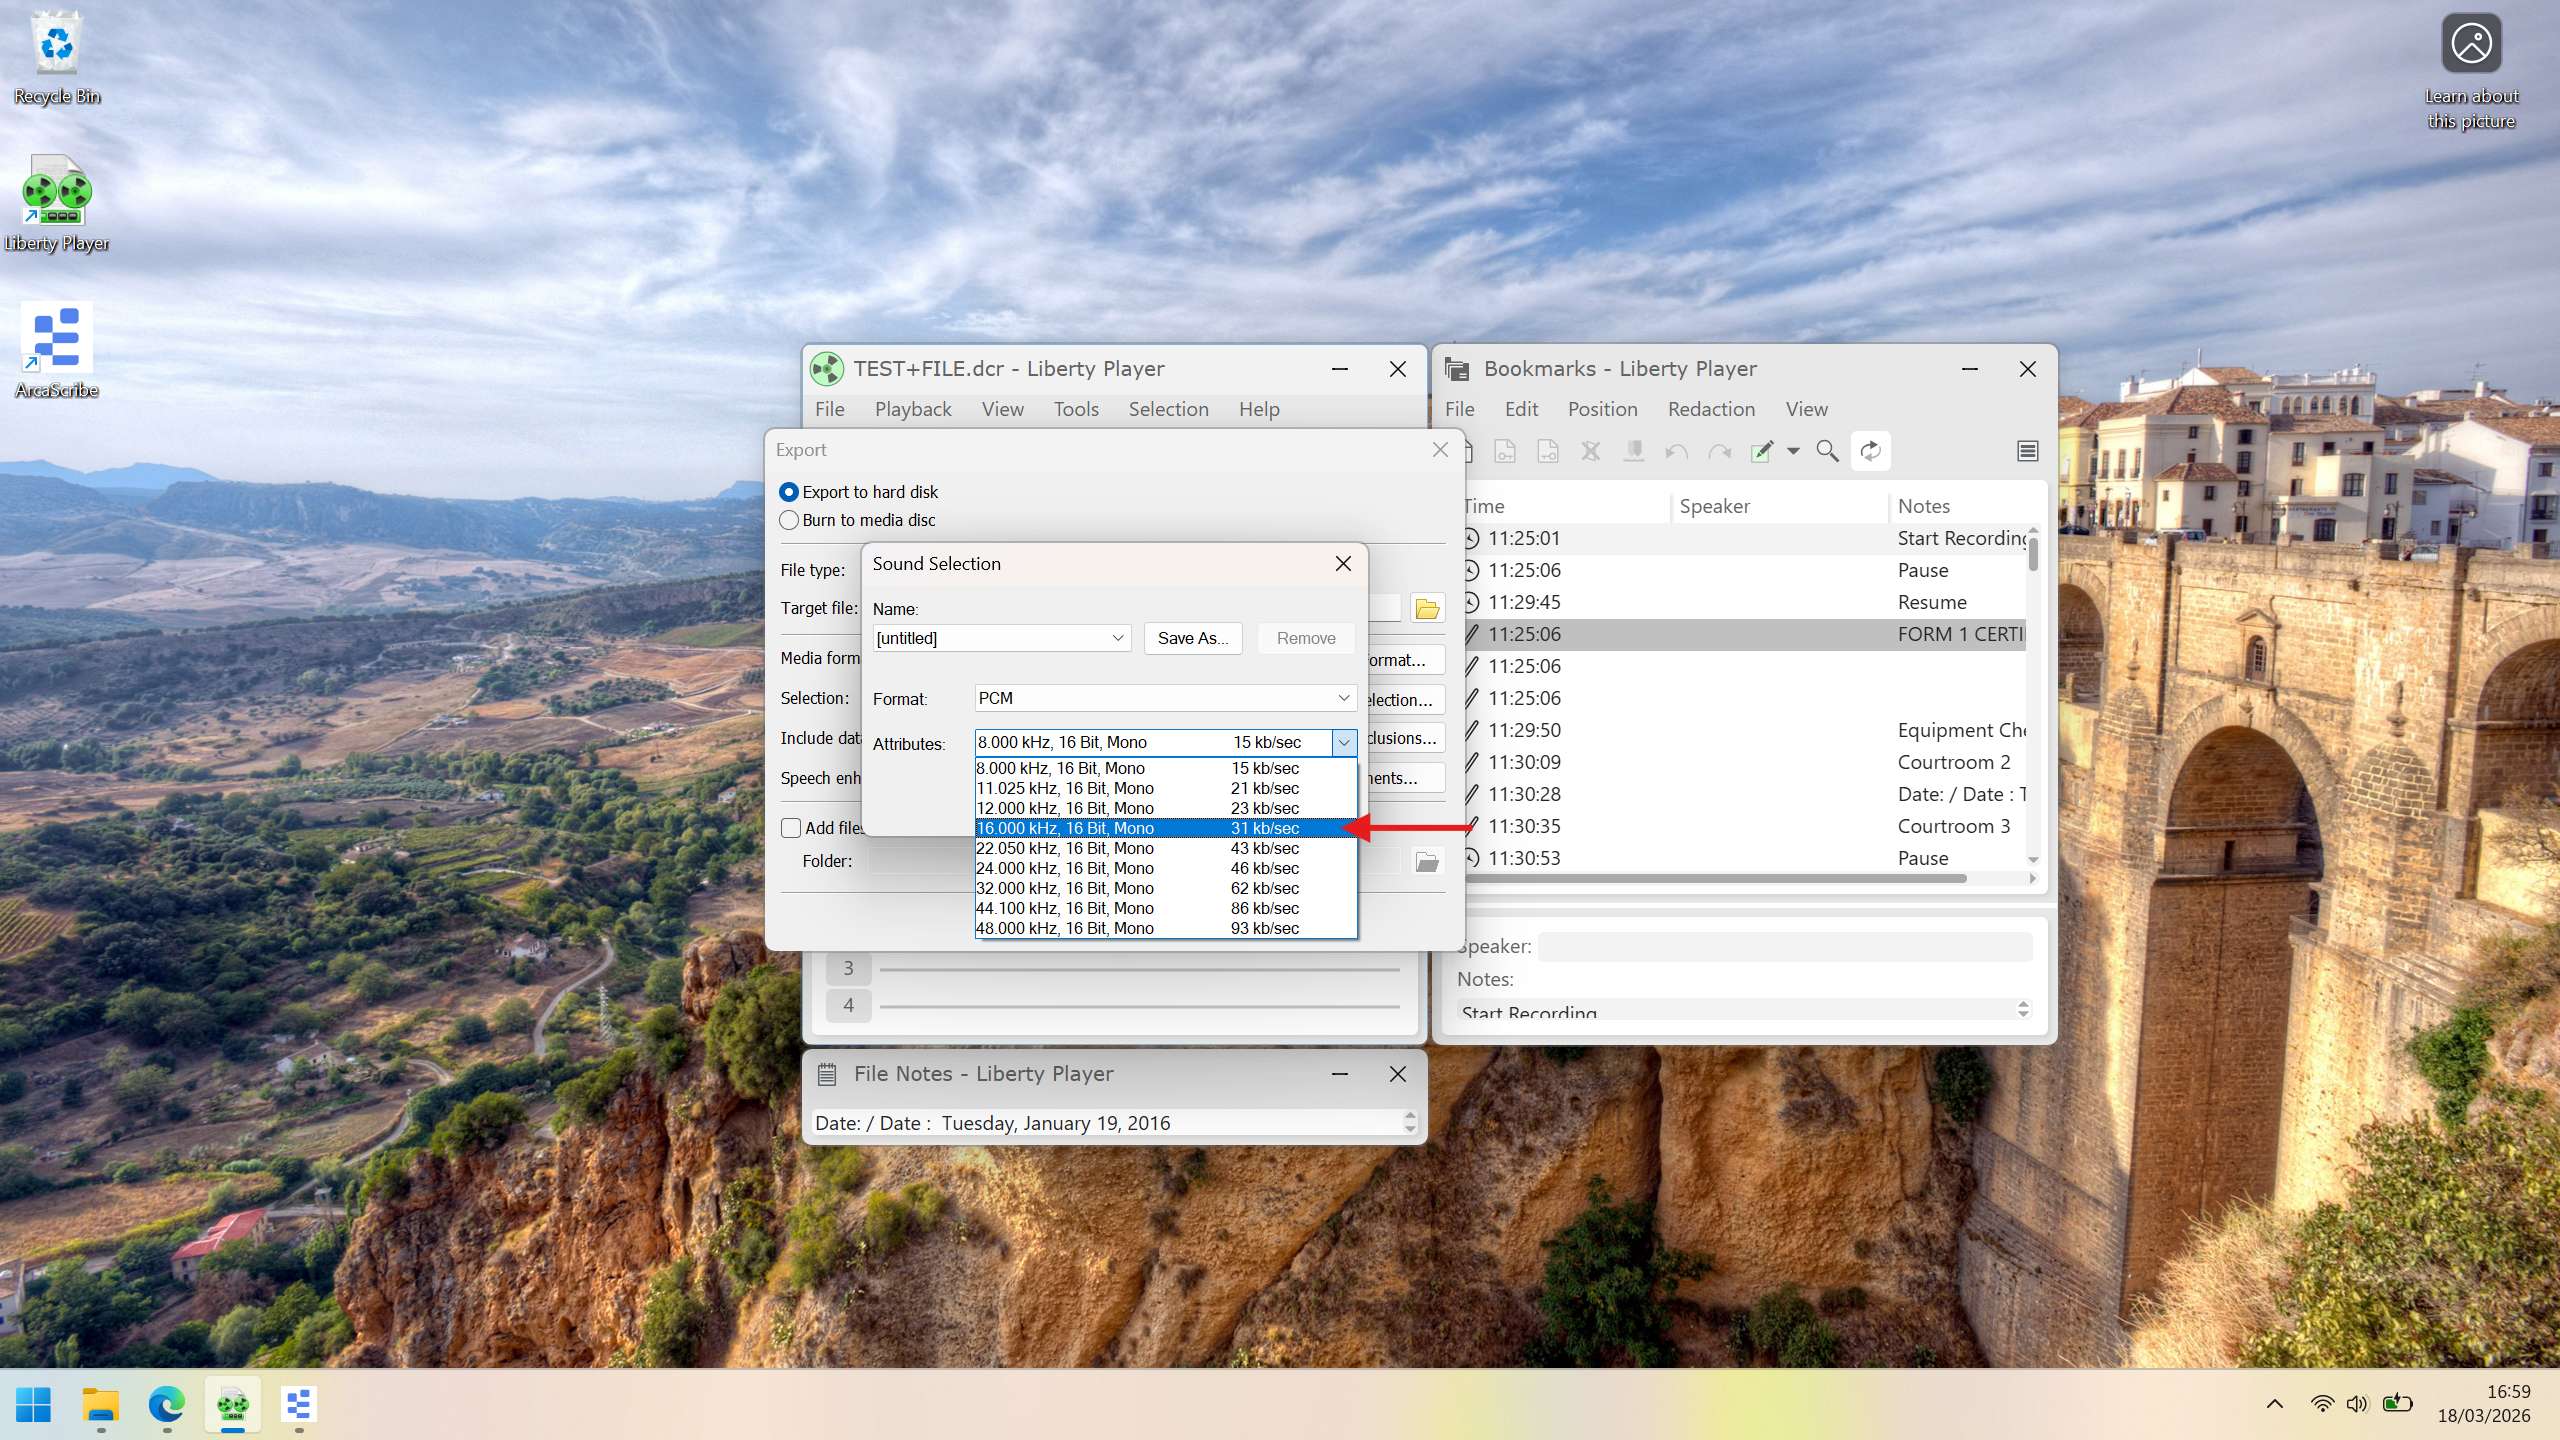
Set format to PCM
A new Sound Selection window will open. Change the Format dropdown to PCM. This is the standard uncompressed audio format that works best for transcription.

Set audio attributes
In the same window, change the Attributes dropdown to 16.000 kHz, 16 Bit, Mono 31 kb/sec. These settings provide clear audio quality while keeping the file size manageable.
Confirm format settings
Click OK to save your format settings and close the Sound Selection window.
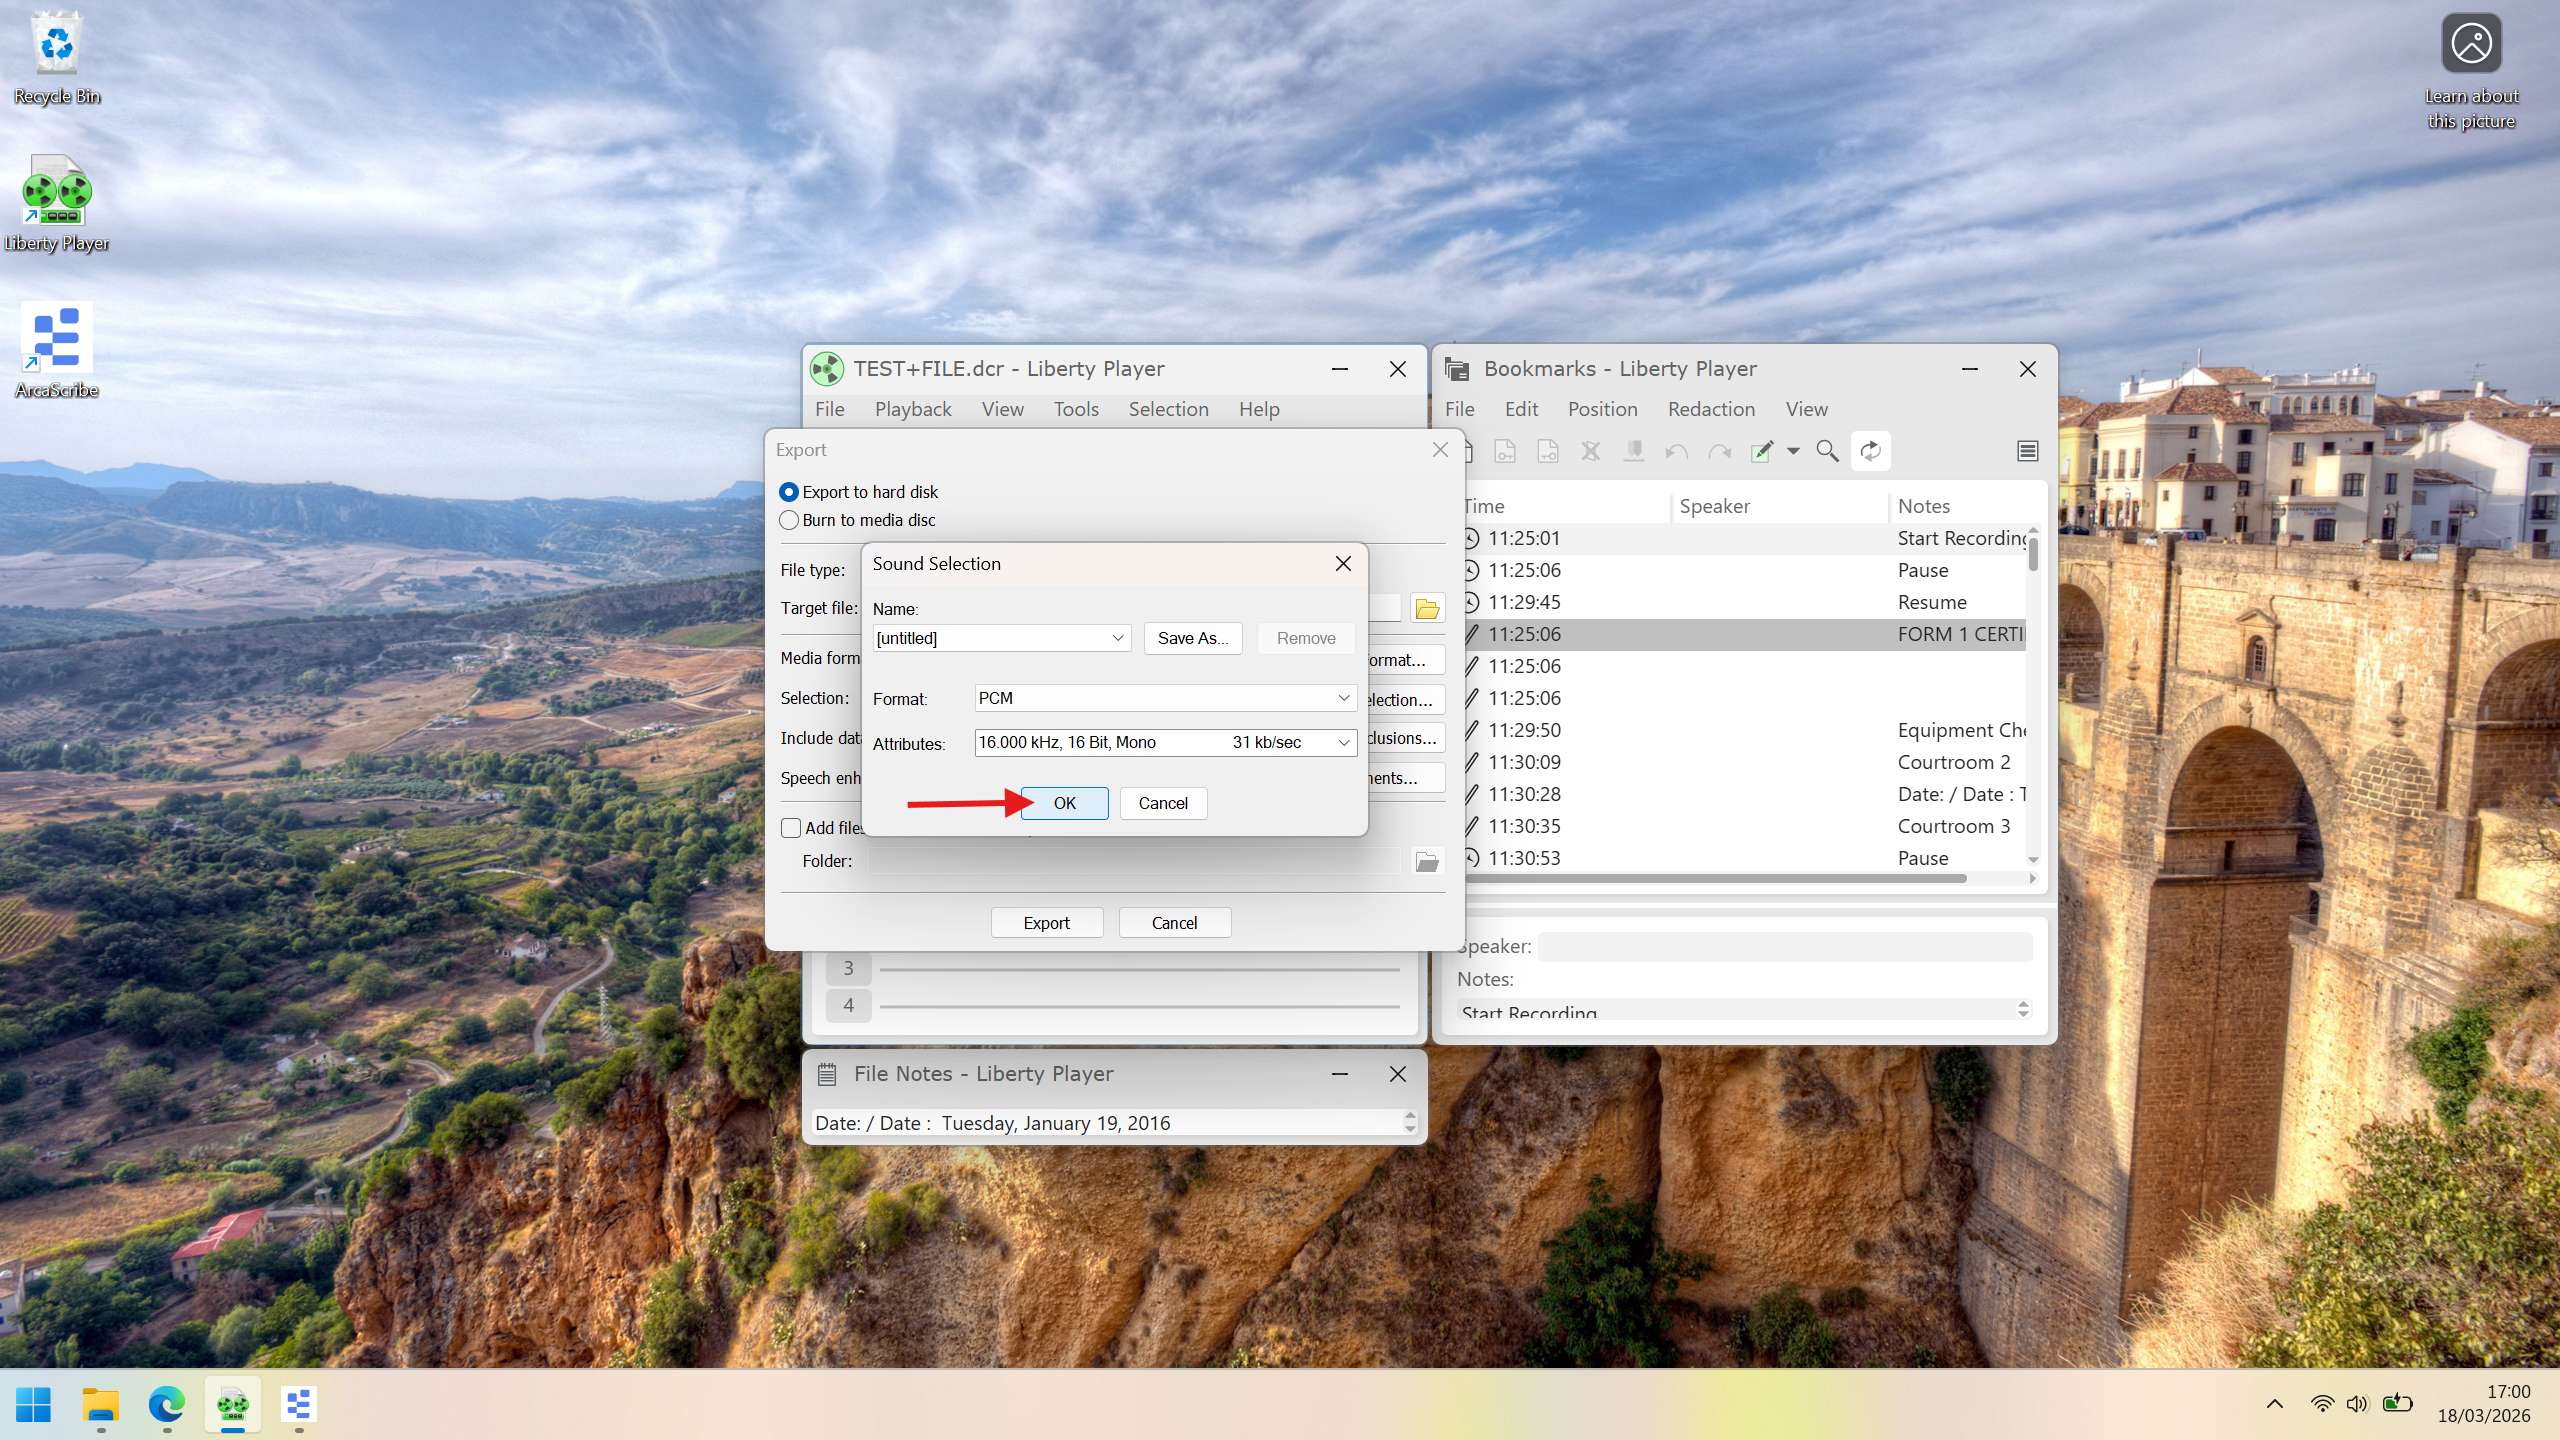
Export the file
Back in the Export window, confirm that the Target file path points to the folder where you want to save the WAV file. When everything looks right, click Export. The conversion will begin and your WAV file will be saved to the chosen location.
That's it! Your Liberty file is now a standard WAV file, ready for transcription in ArcaScribe. If you have any questions or run into issues, feel free to reach out to us.
Part 2: Transcribe in ArcaScribe
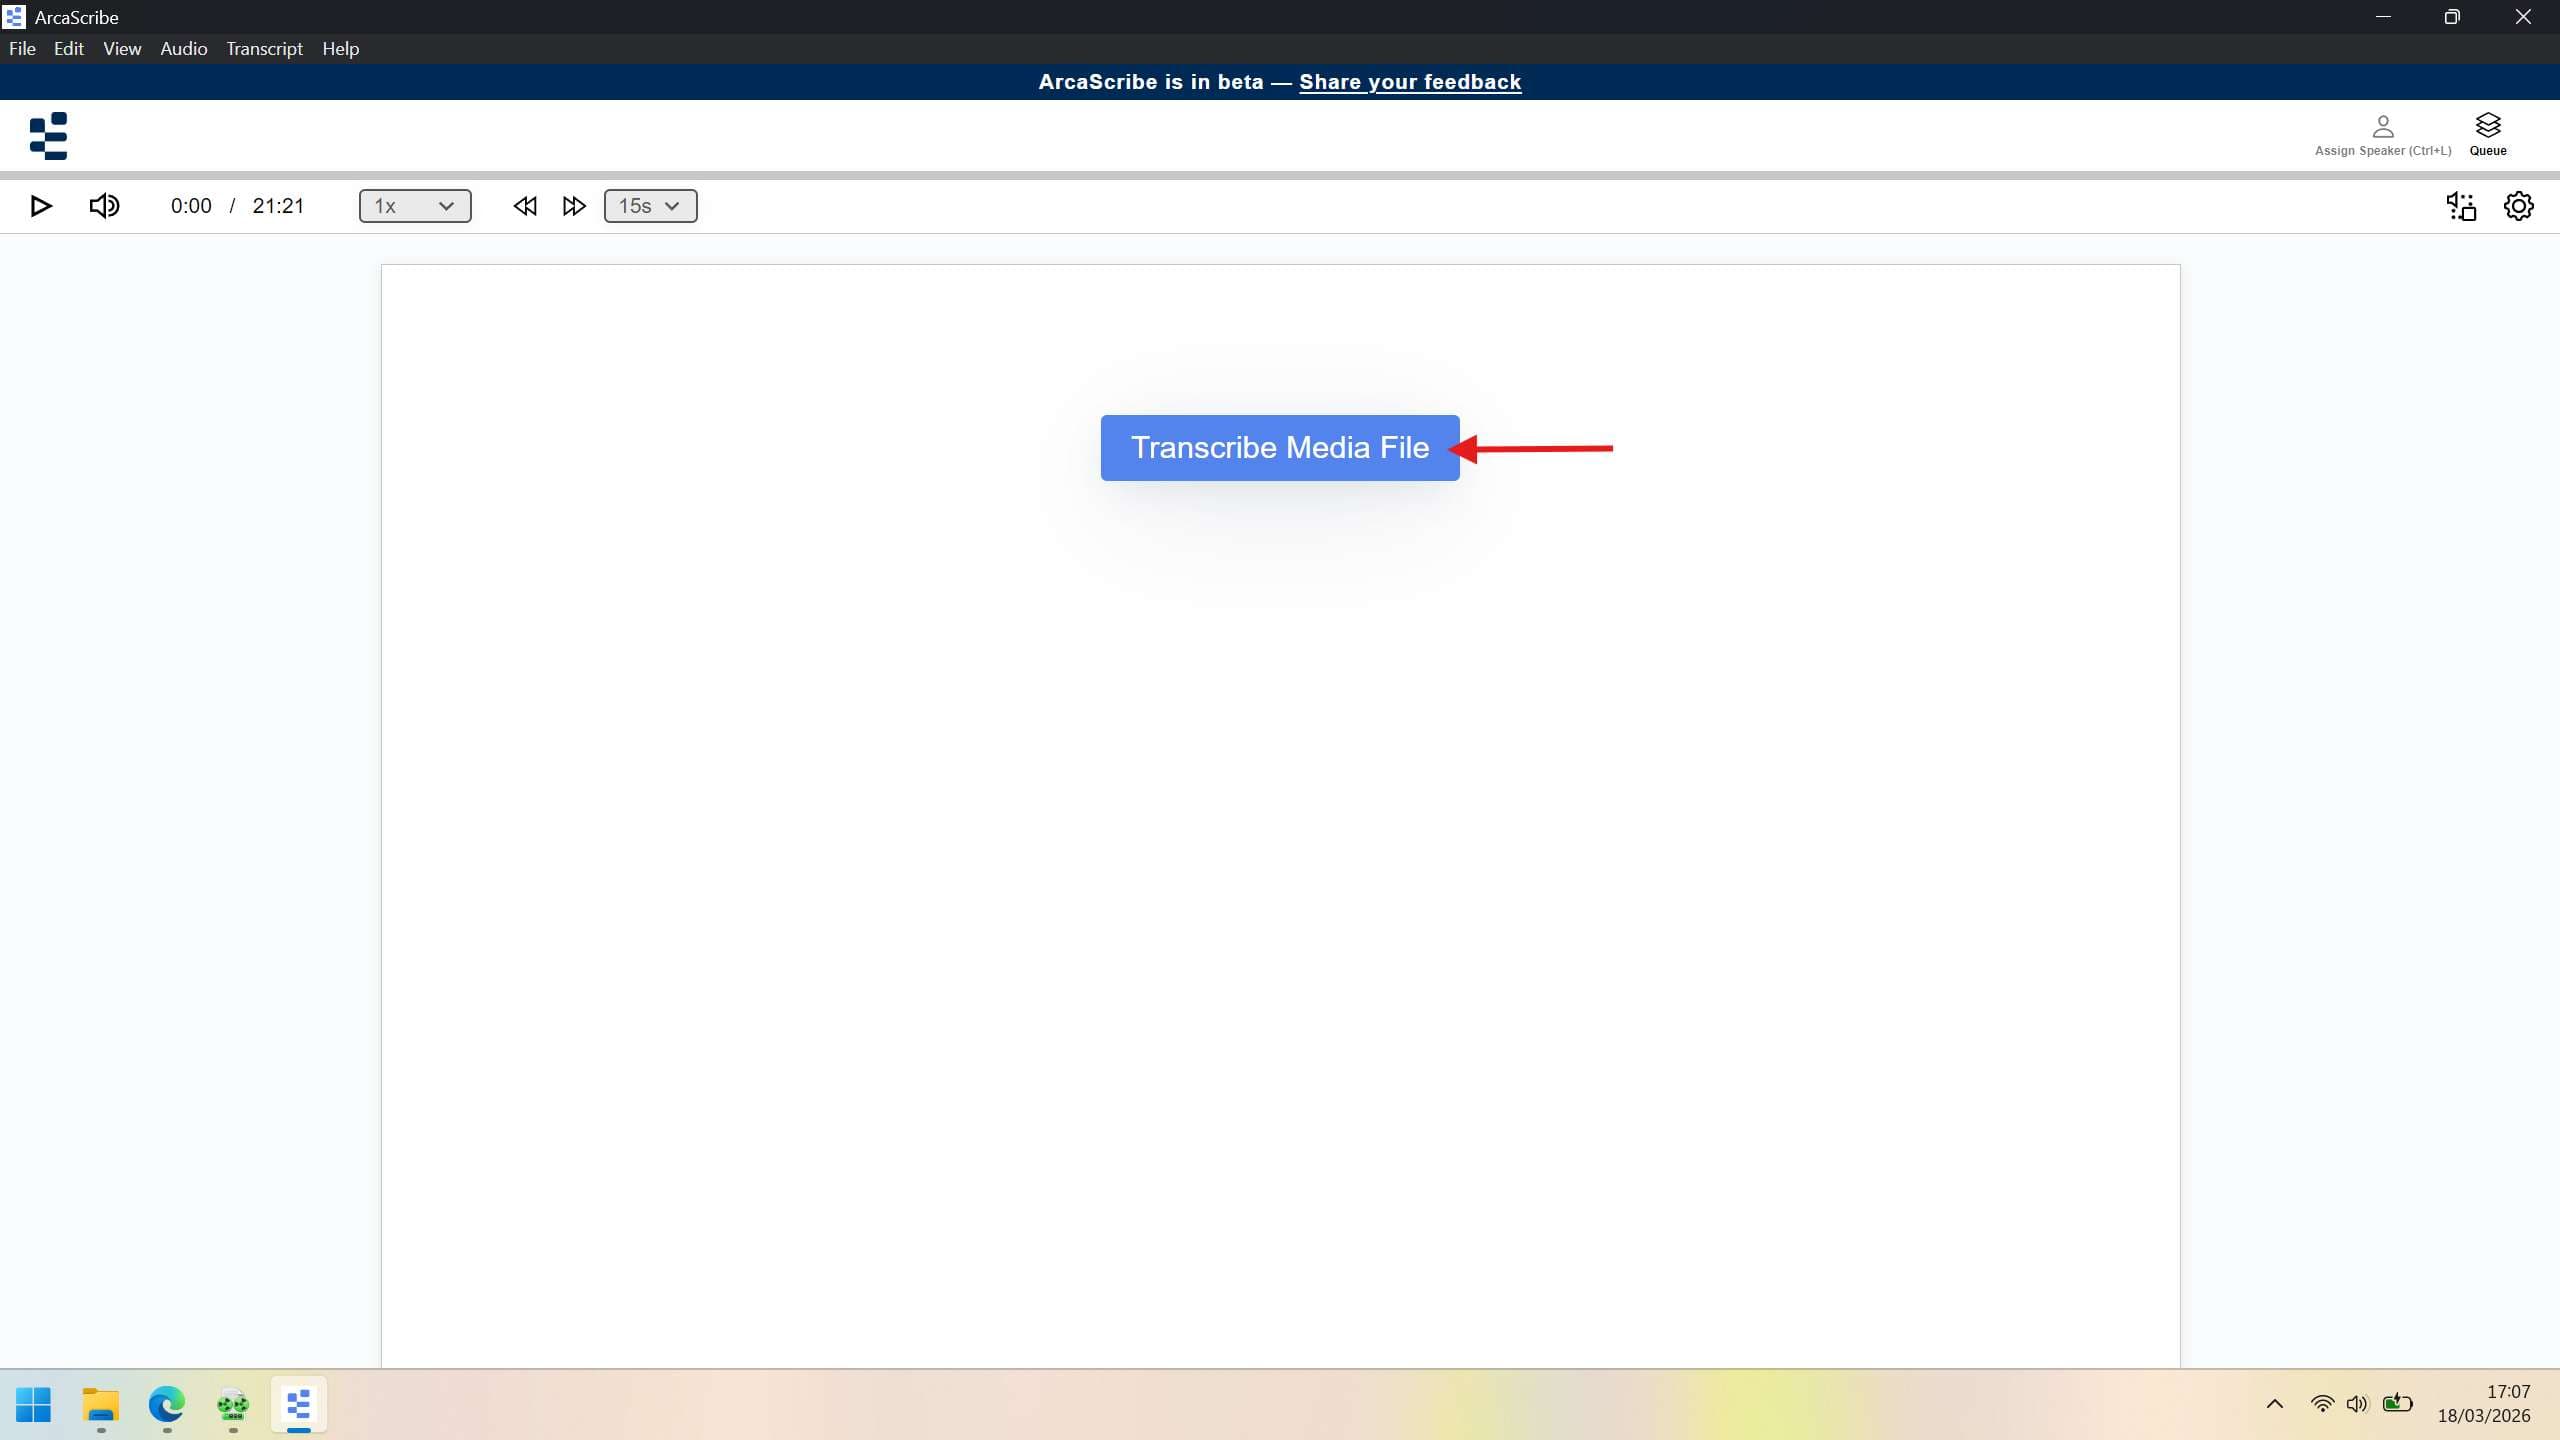
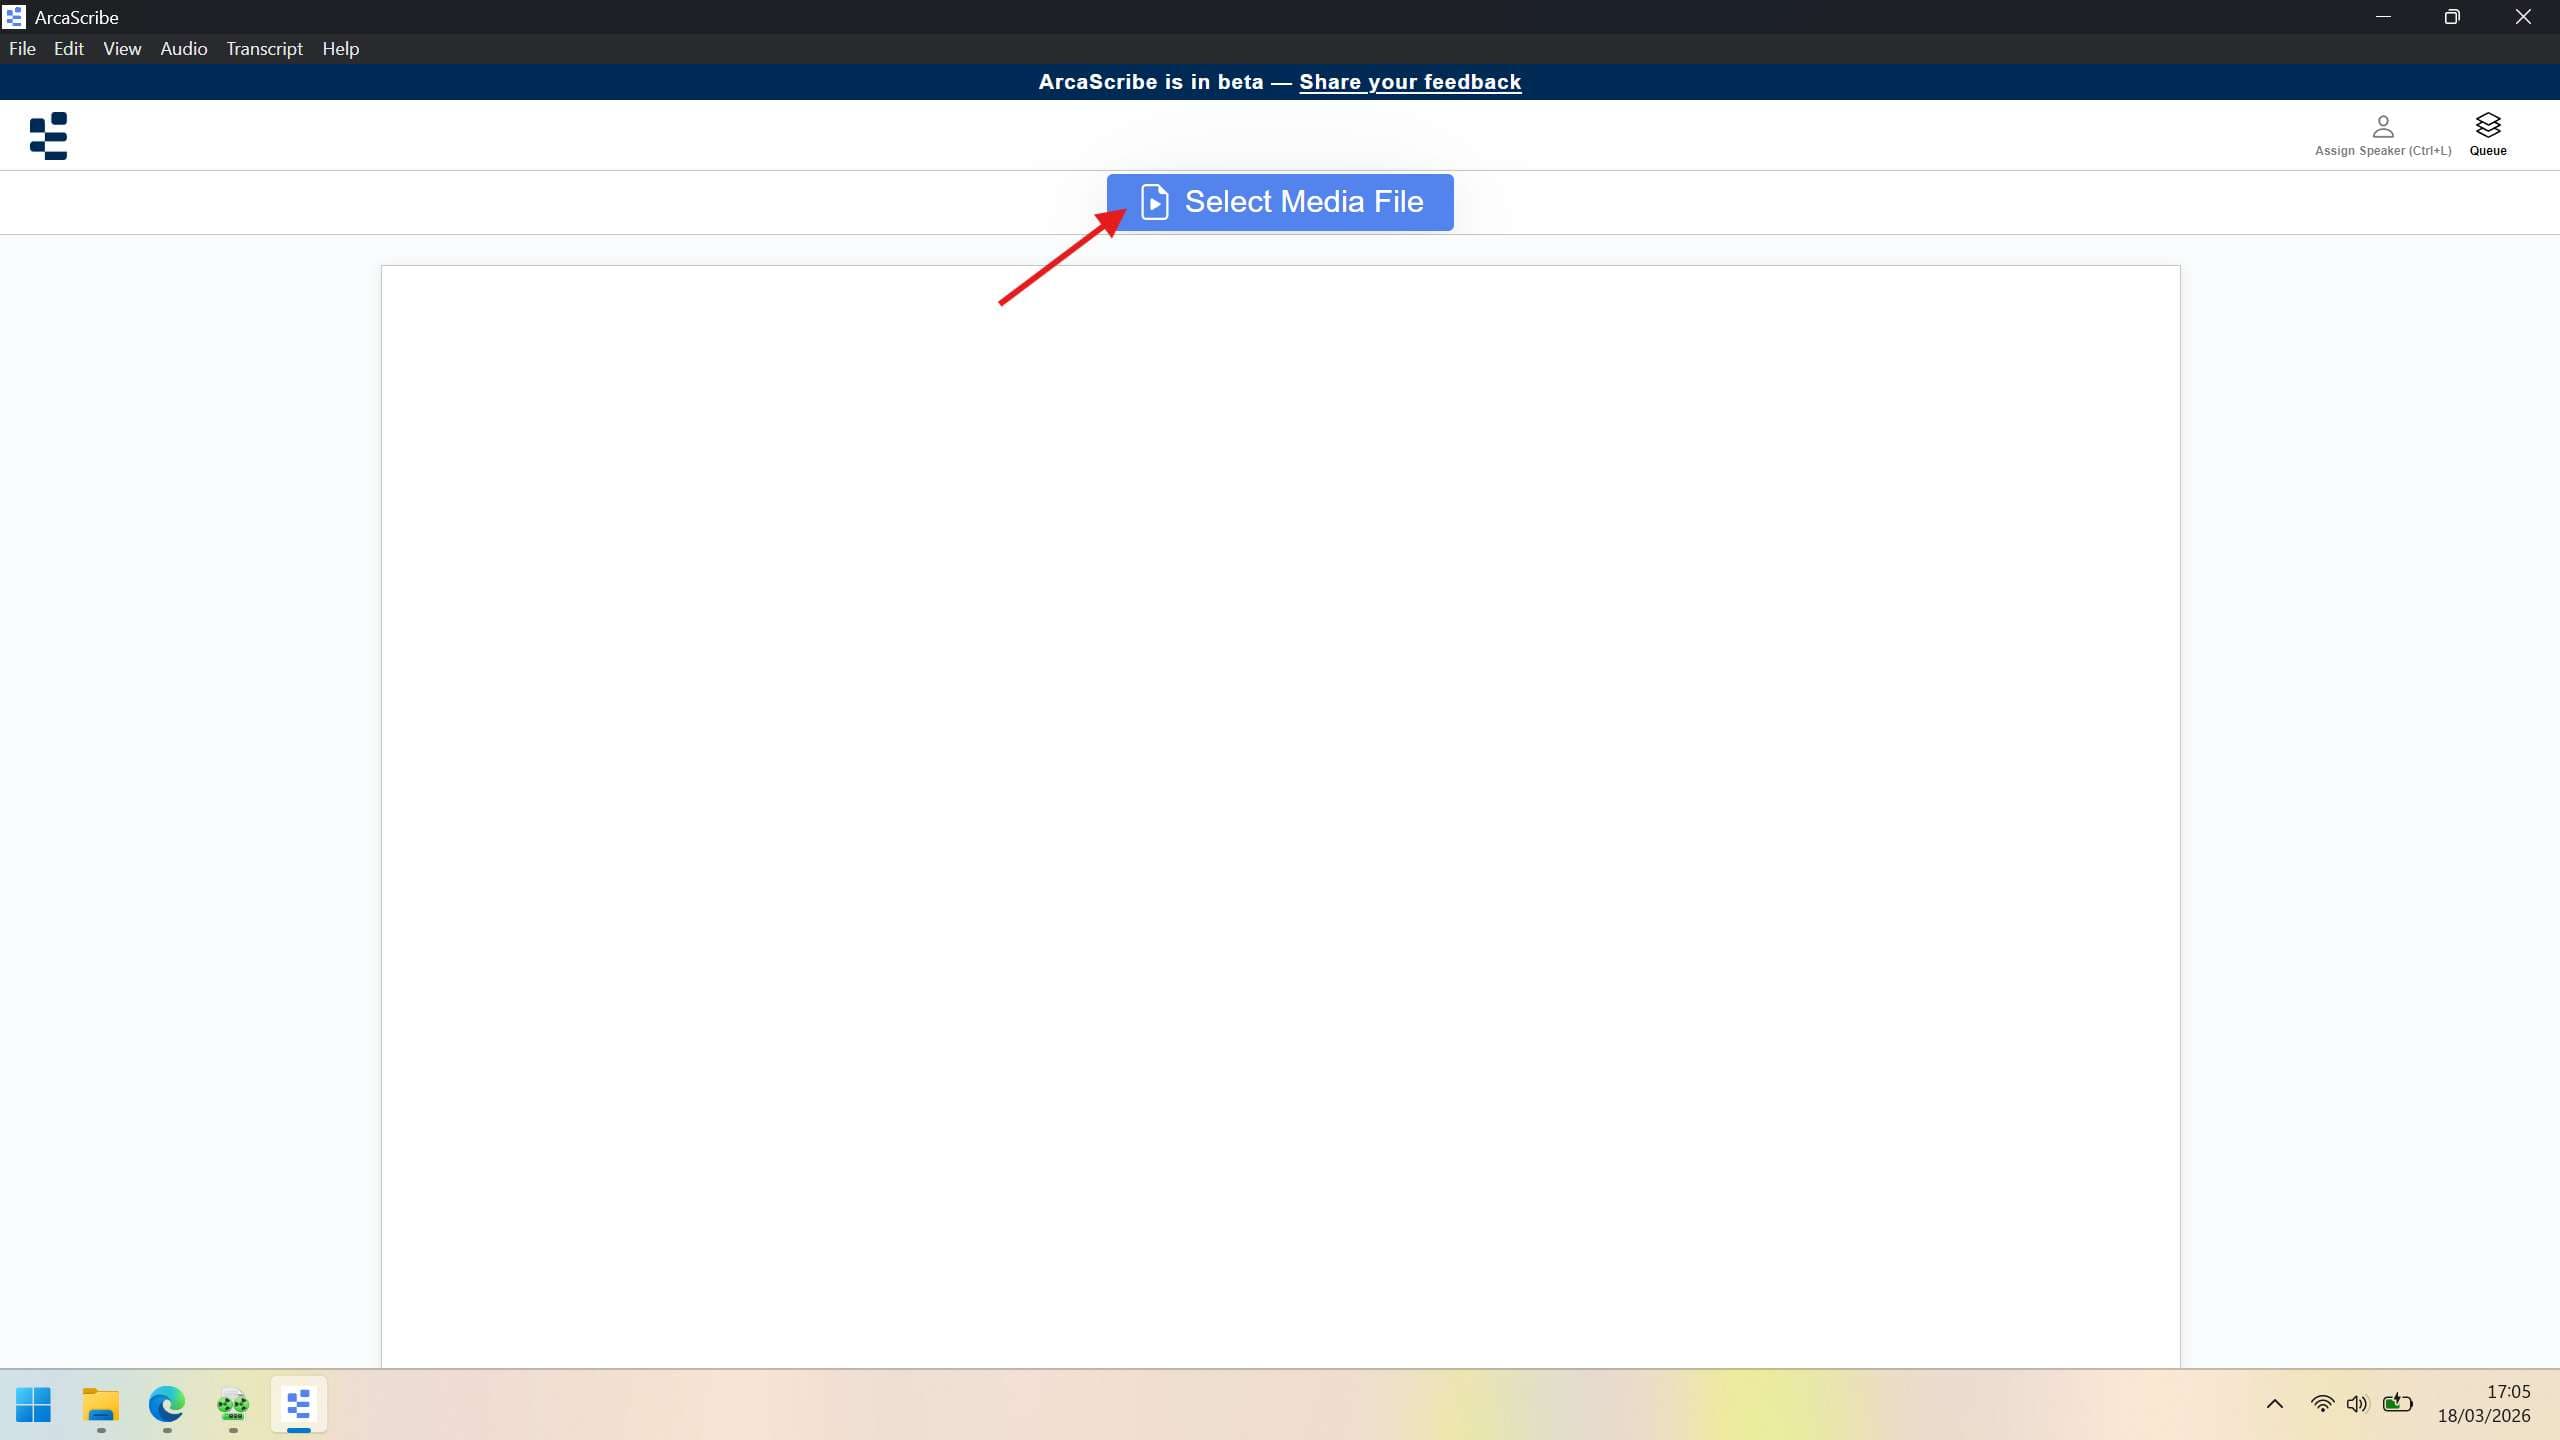
Open ArcaScribe
Launch ArcaScribe on your computer and click Select Media File. You can also use the keyboard shortcut Ctrl+O.
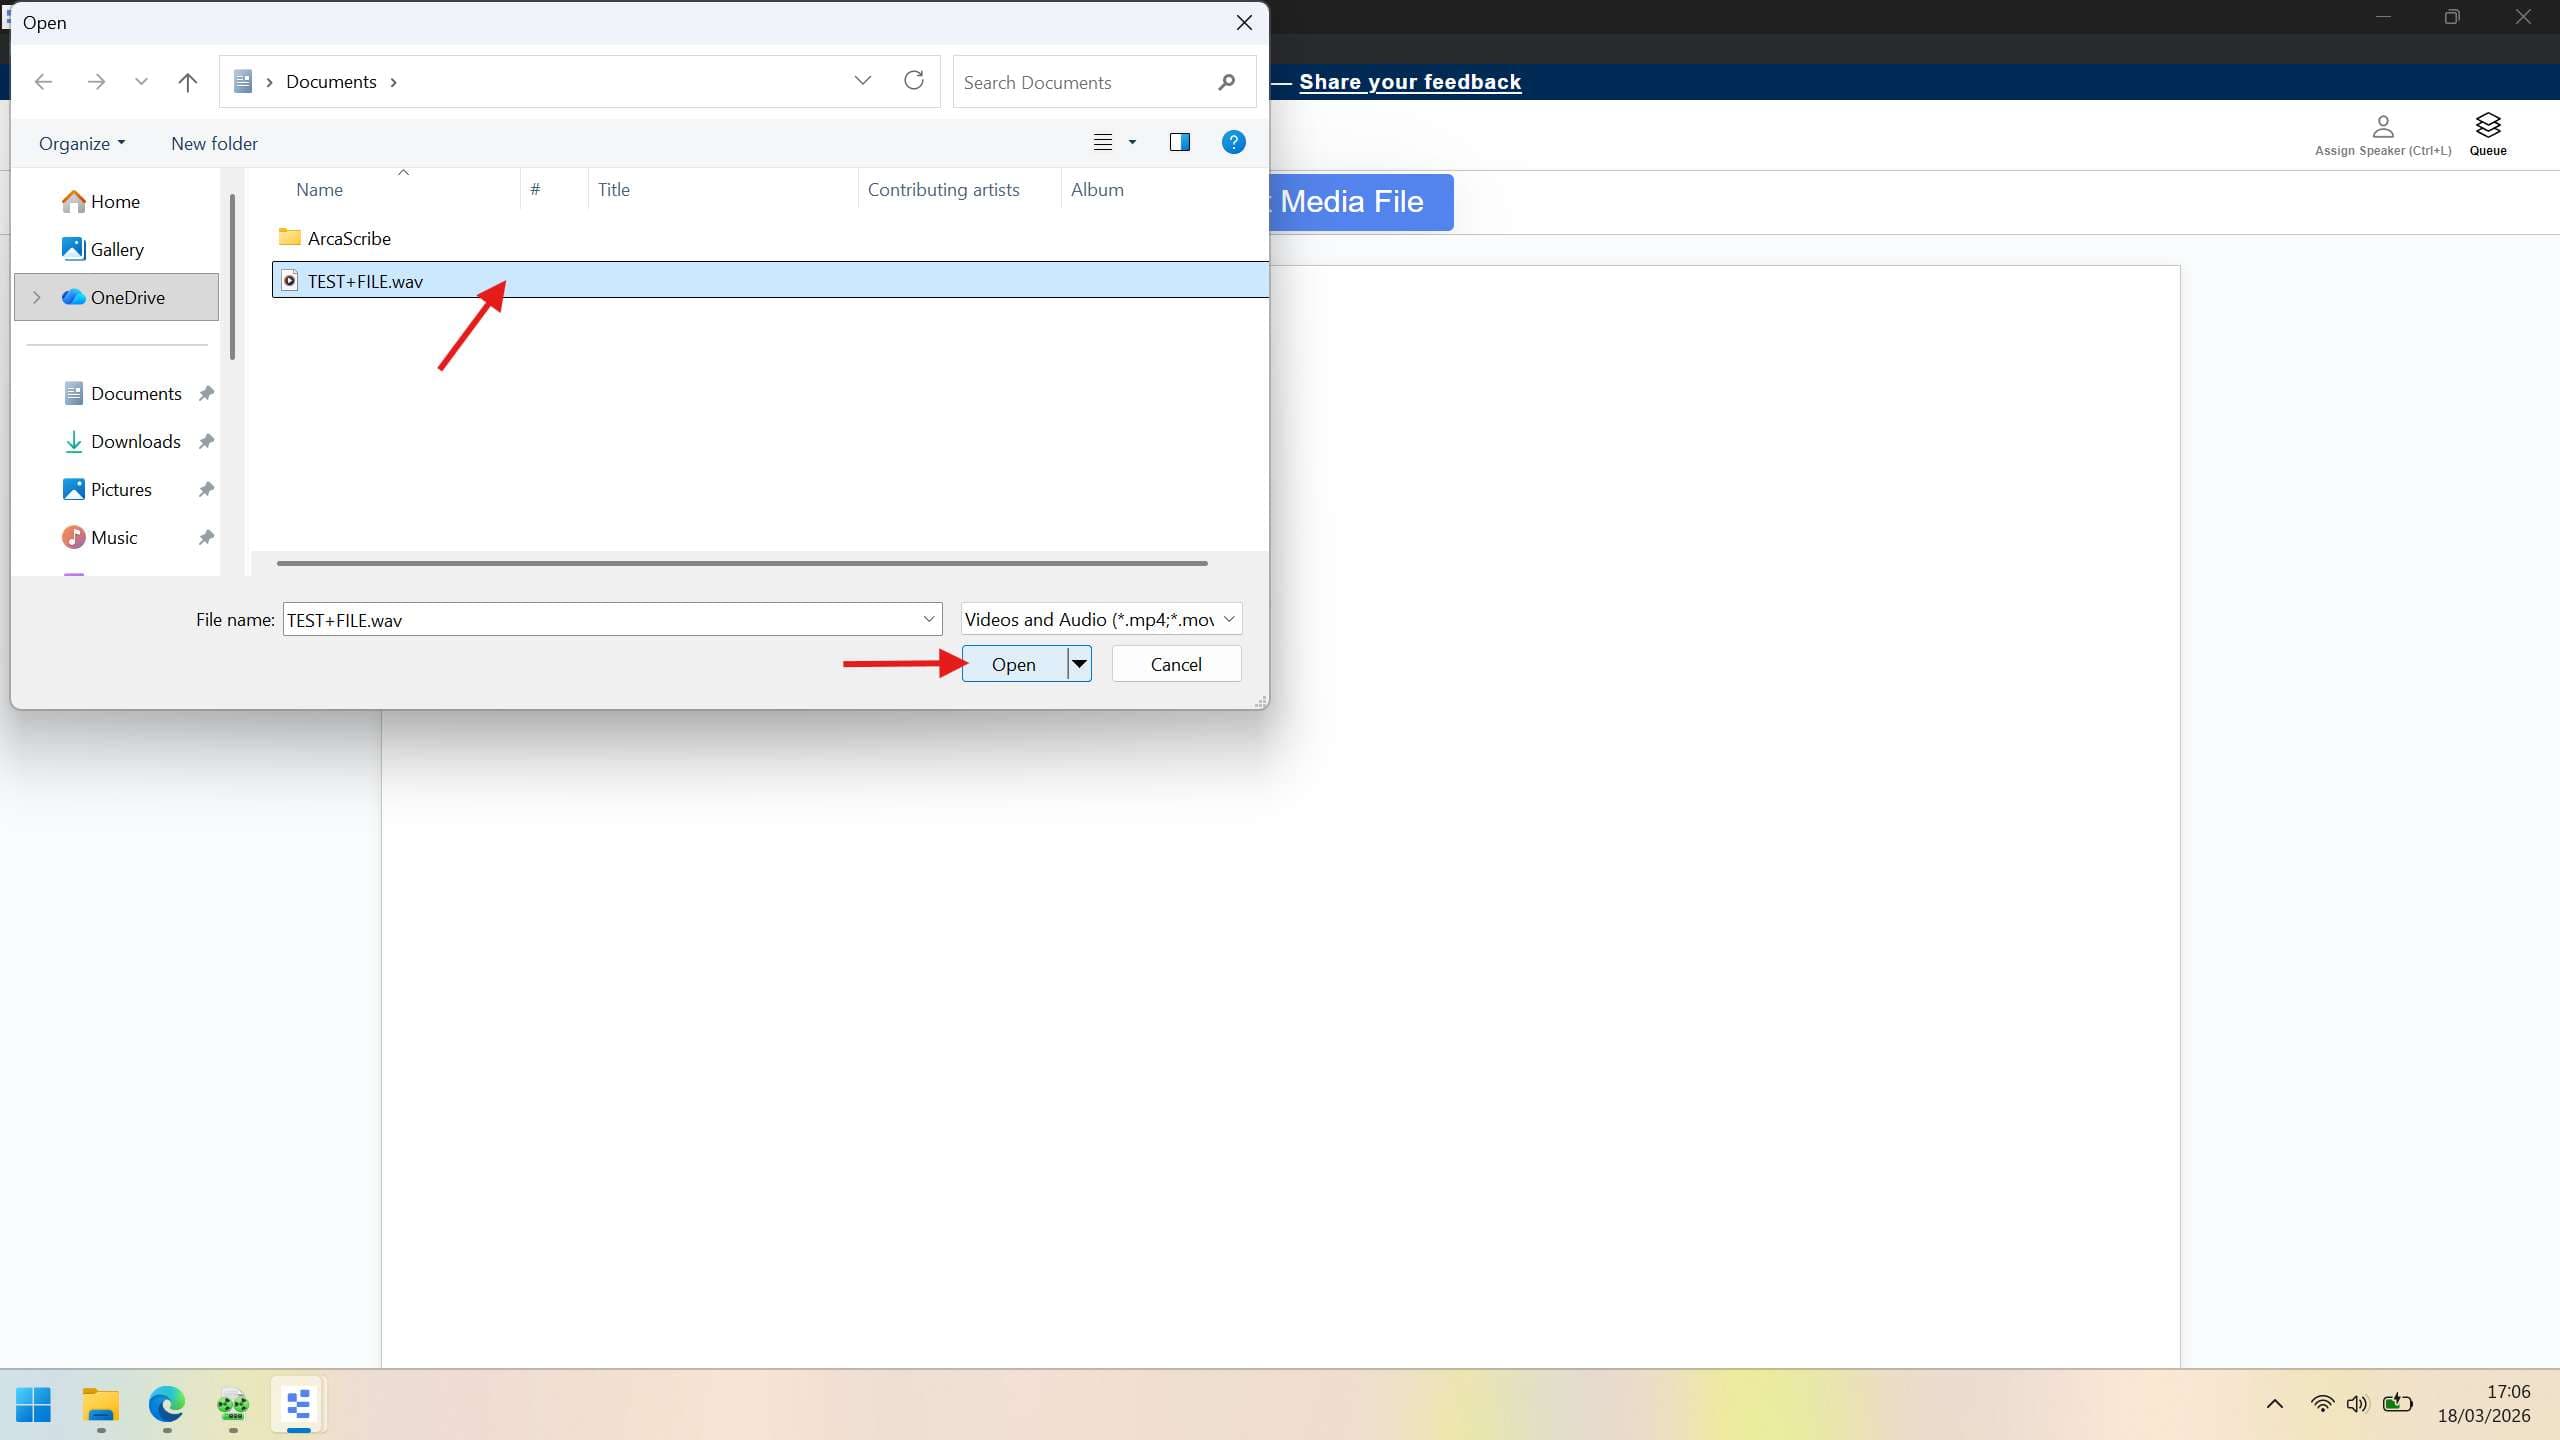
Select your WAV file
In the file explorer, navigate to the WAV file you exported earlier from Liberty Player. Click on the file to select it, then click Open.
Transcribe
Your file is now loaded and ready to go. Begin transcribing as needed using ArcaScribe.